The Content section is where most if not all of the class materials are located.
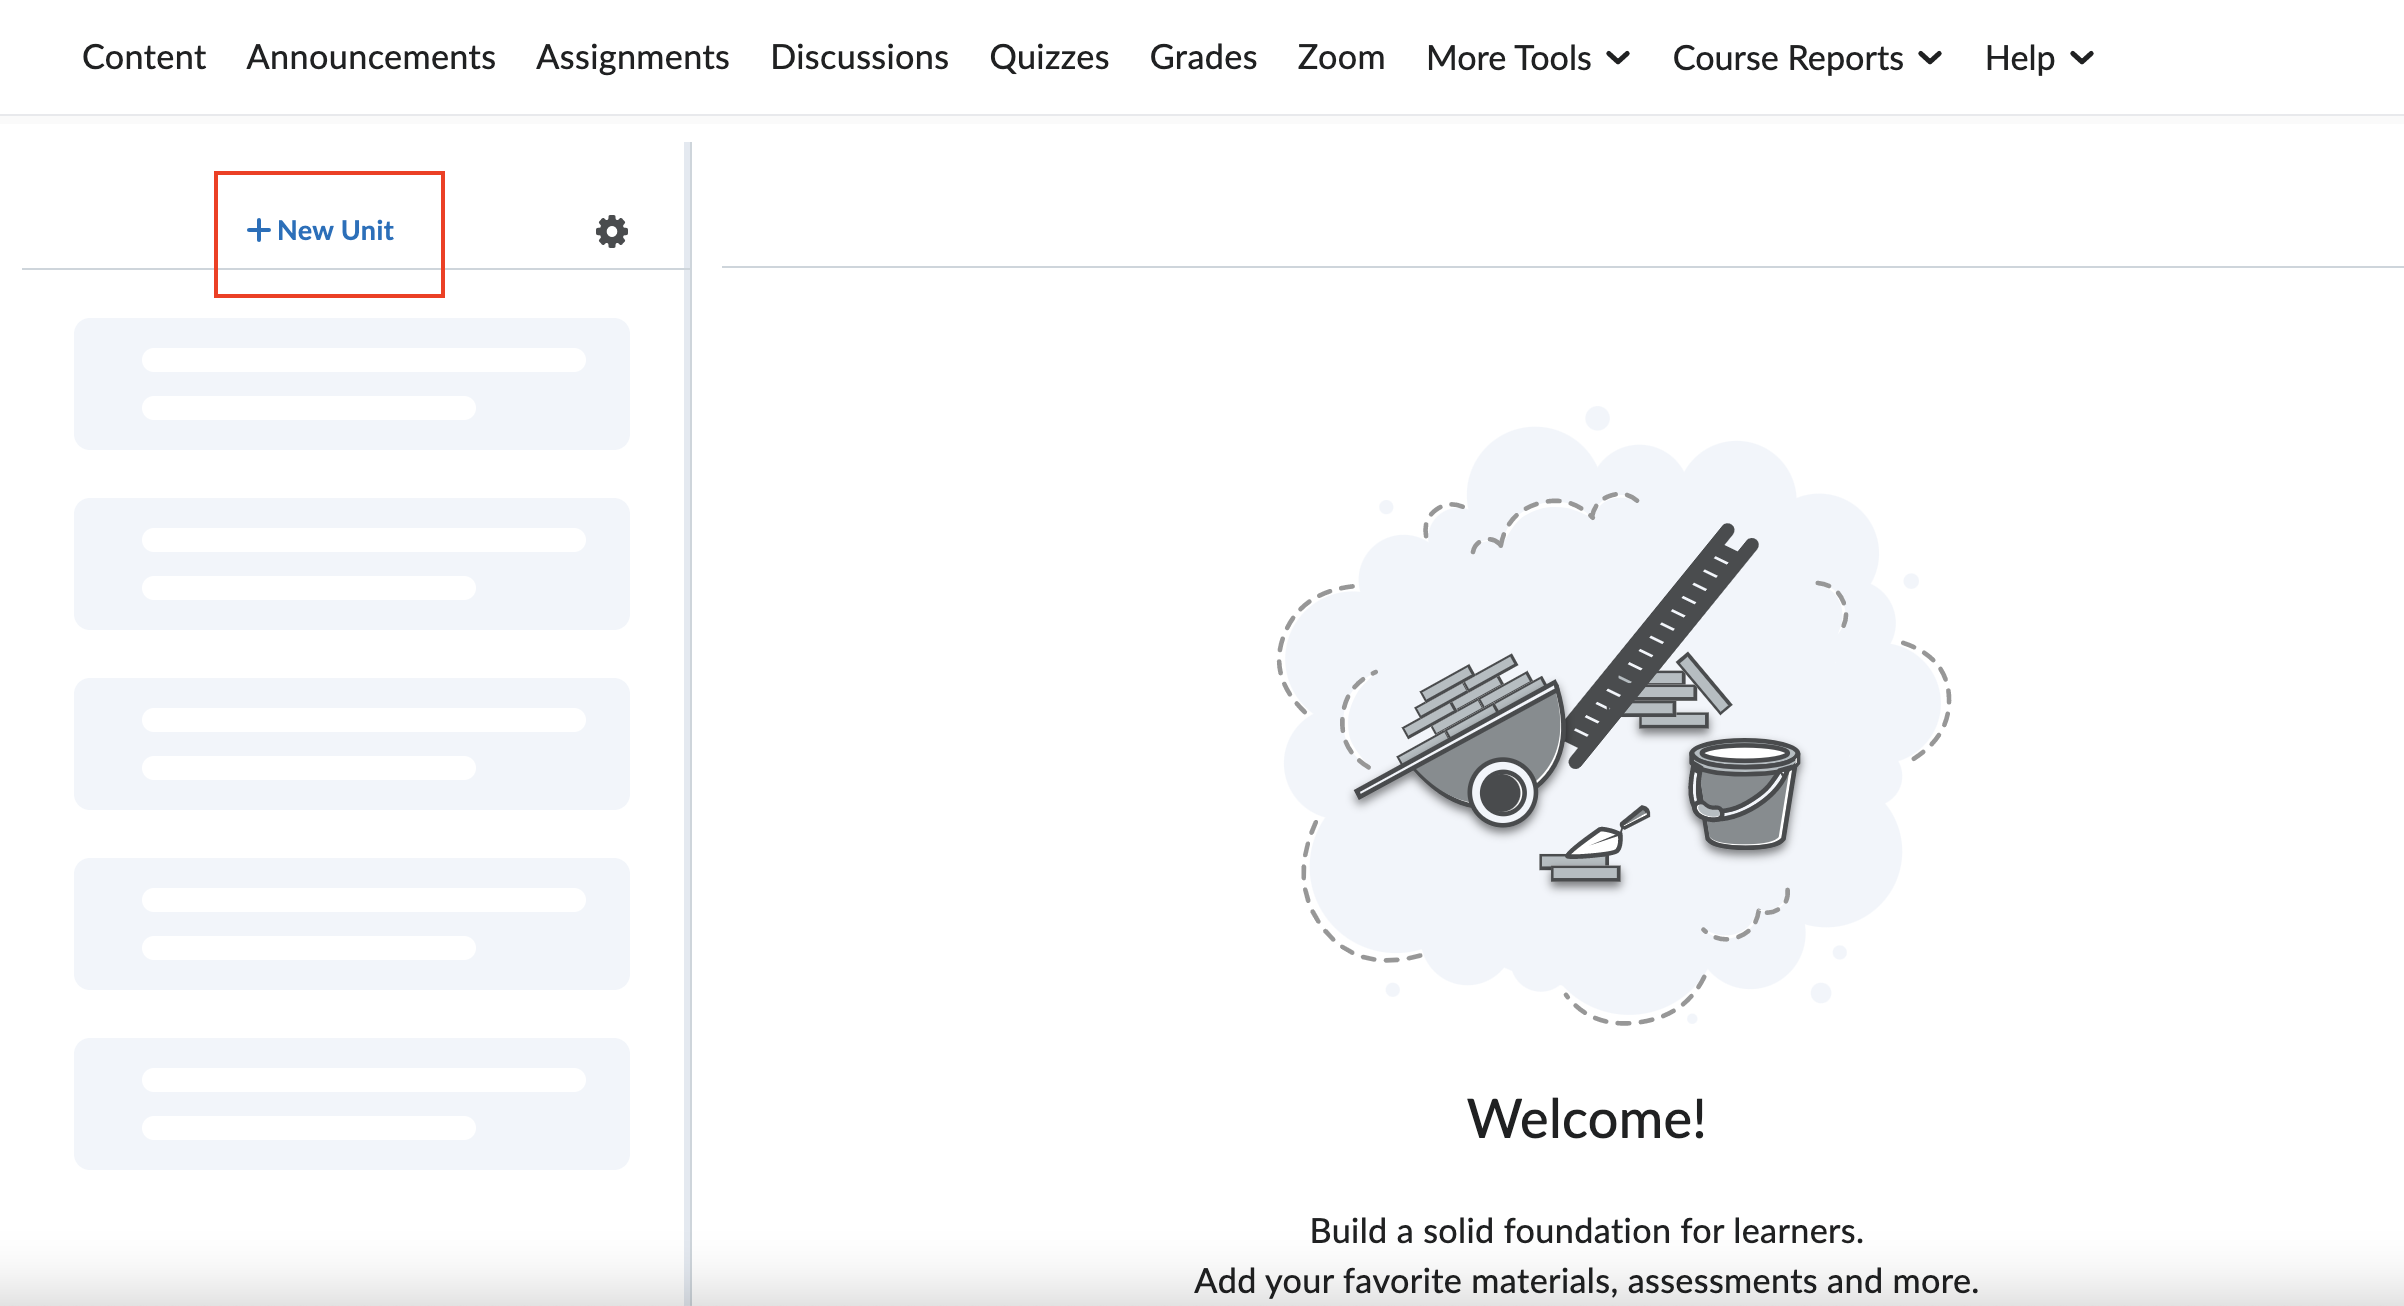
Click on “Content” in the top navigation bar. If you’re building your course site from scratch, you’ll be directed to a page that looks like this, with no content or menu shown. Click on + New Unit to start building and adding material to your course.
If you already have content, your page would look similar to this screenshot below.

- After you click on + New Unit and add text, the unit will appear in this menu on the left. Notice that there is no arrow to the left of this box, since there is nothing nested in this unit. To add material under this unit, click on (2) Add Existing or (3) Create New in the top-right corner.
- Add Existing: Select material that has already been created (i.e. assignments, discussion forums, quizzes, pdfs from local computer, etc.) to nest under the unit.
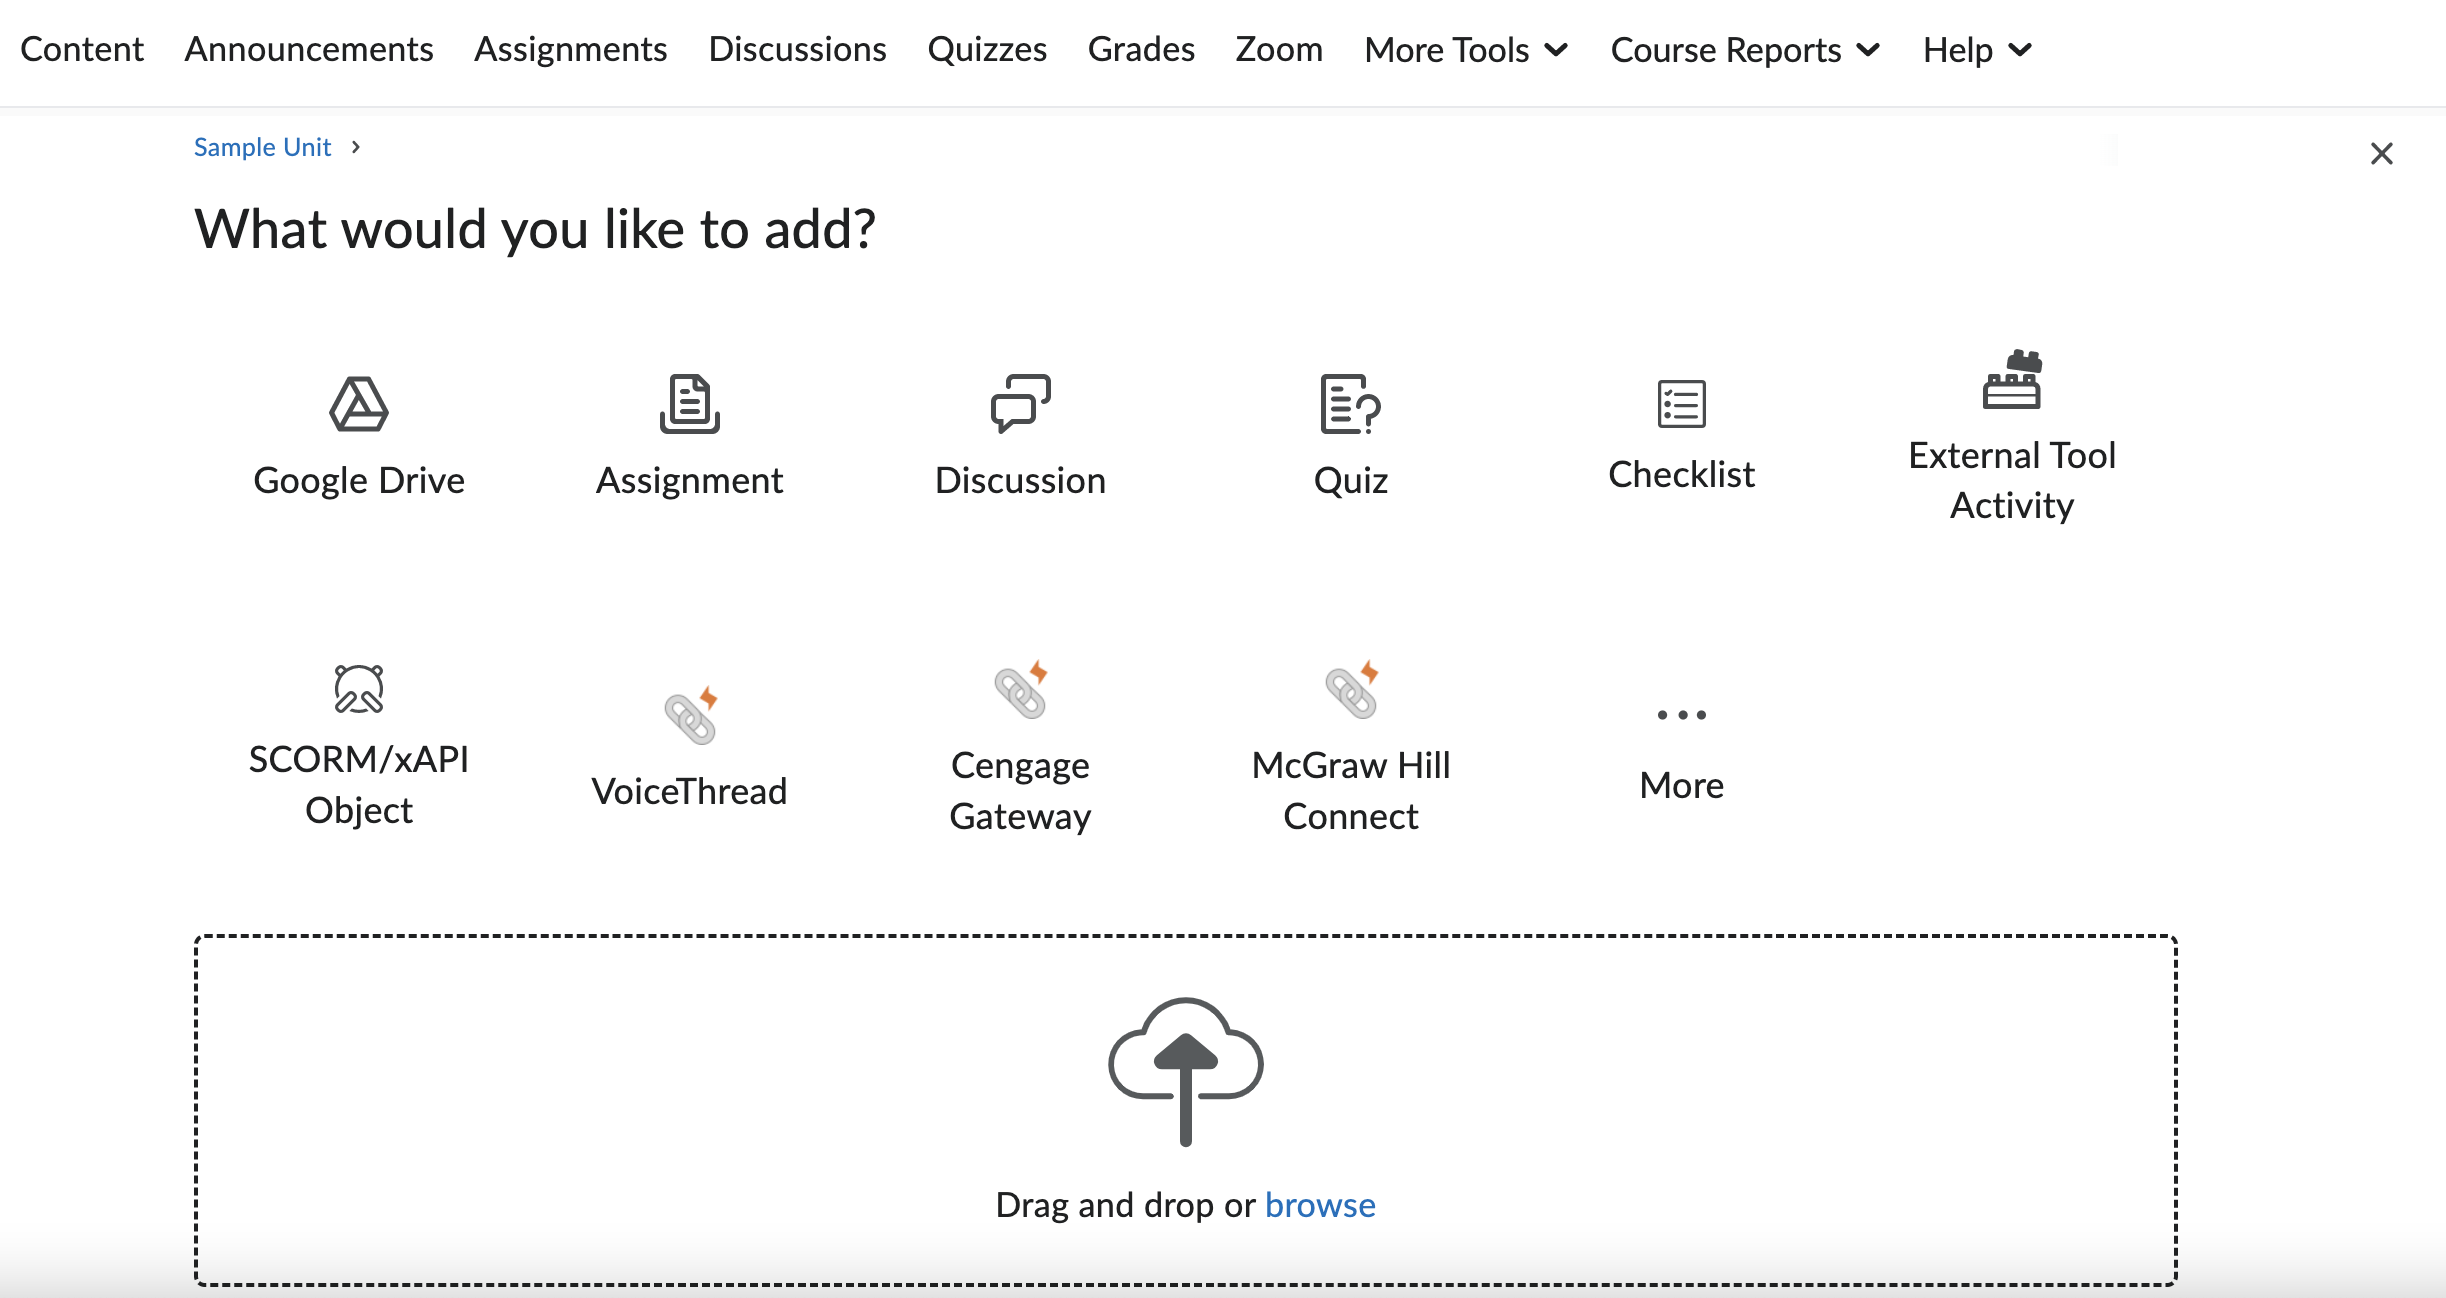
- Create New: Create material that will be nested under the unit.
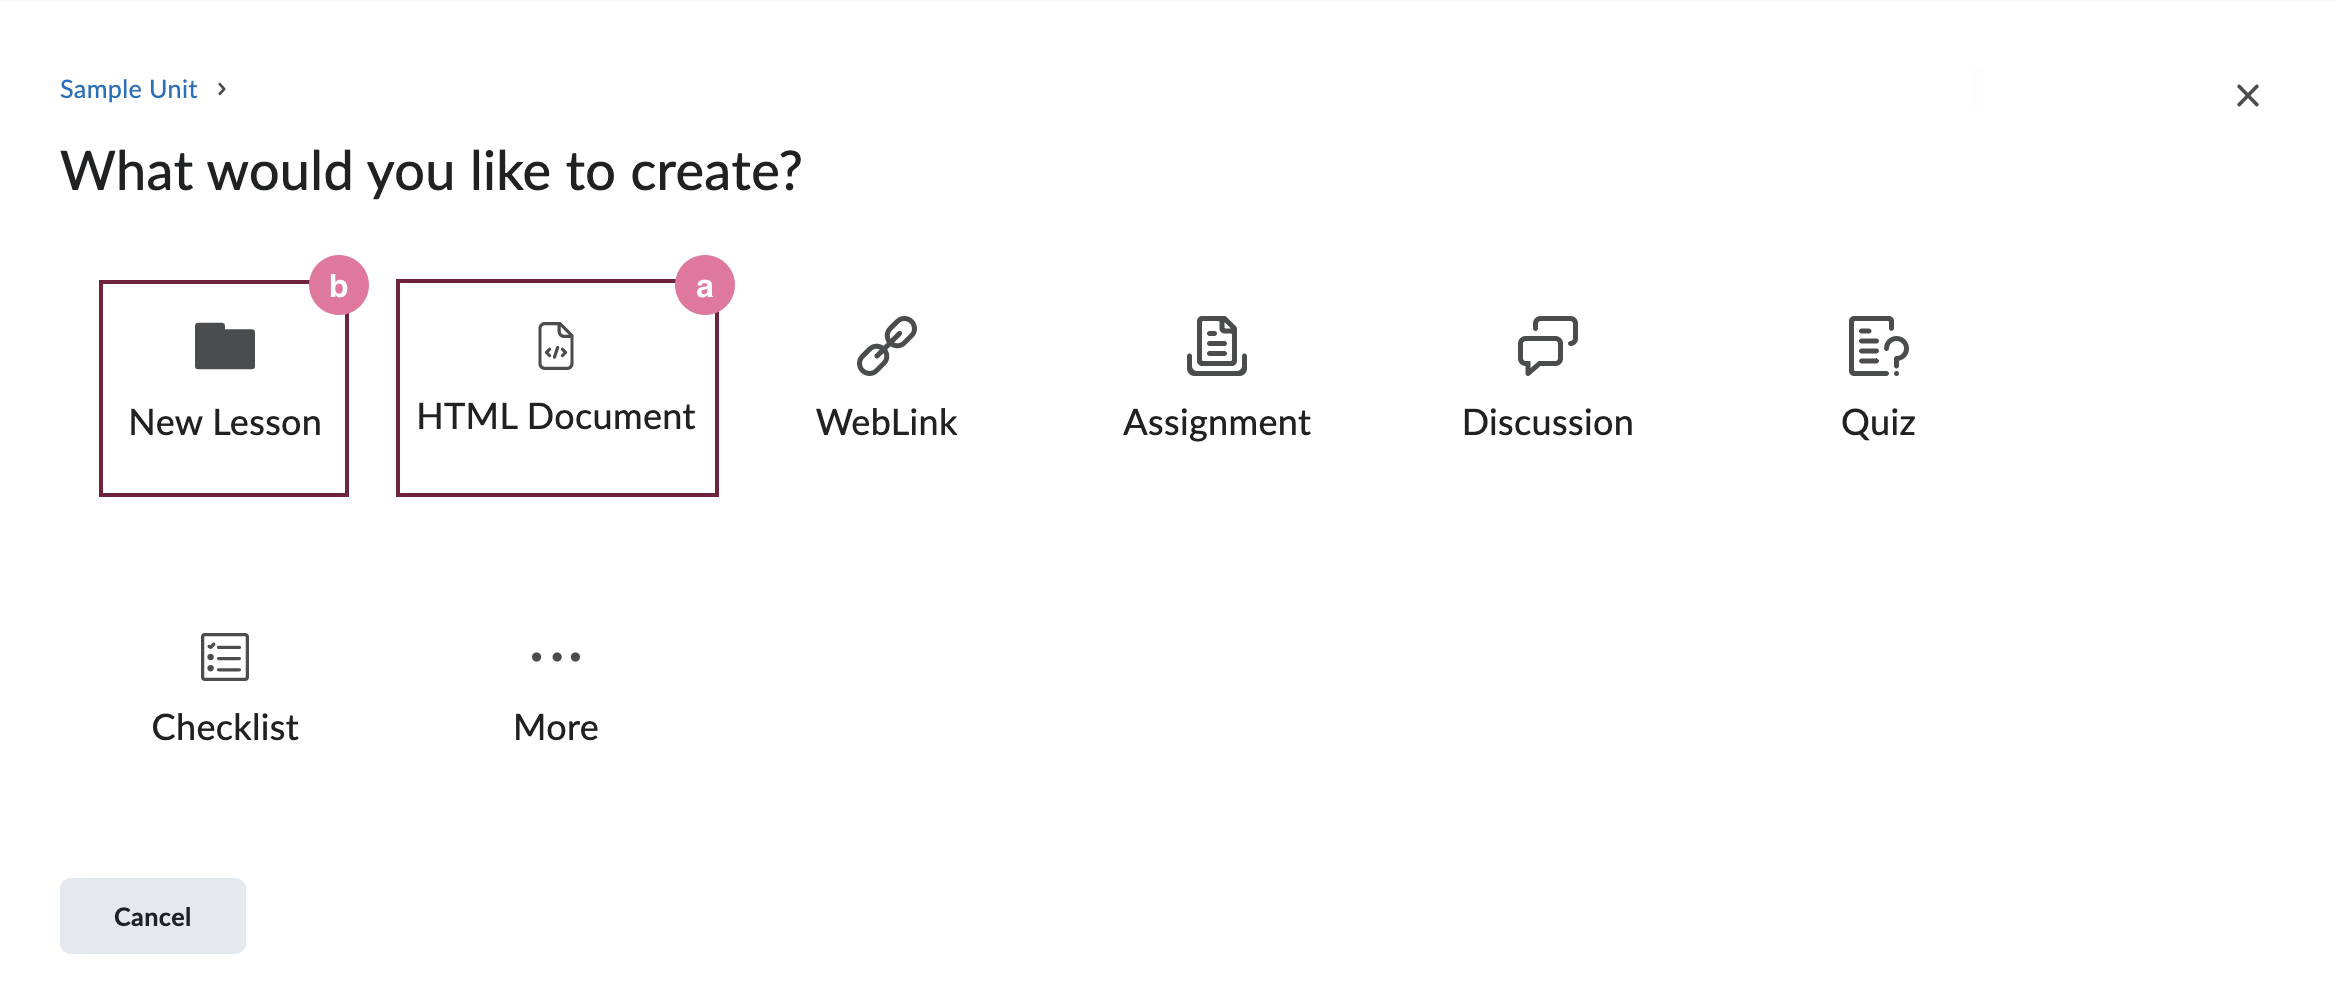
- a. HTML document: Use this to create content pages for your unit.
- b. New Lesson: Use this to create subsections of your unit. You’ll be able to nest material under these lesson folders. However, it is encouraged that you don’t include much text (as in class content) on this “new lesson” since the time spent on this page will not be included in the analytics shown under Content Reports. Use HTML documents to create content pages instead.
- Use this toggle to hide or unhide the material from the student's view. When the toggle is on the left (as shown in the screenshot), the slashed eye icon appears, showing that the material has now been hidden from students. Whenever you see this slashed eye icon, that means that particular material is hidden. When the toggle is on the right, the material will be visible to the students.
- Click on this menu for more actions, including editing the current page.