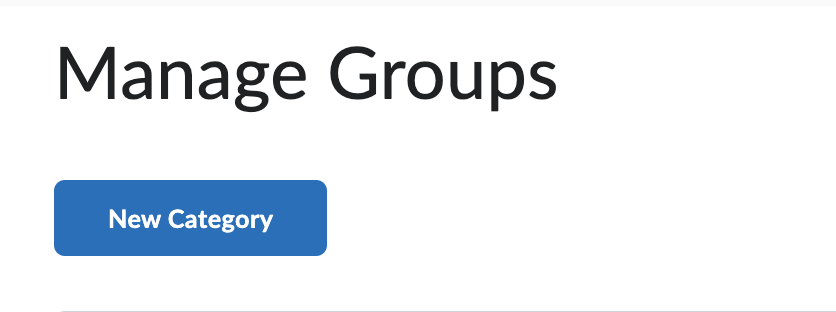
Use the Groups tool to create groups of students. Groups can be linked to Assignments and Discussions, where students can work within a certain group. Students that are in group assignments will be able to turn in their work as a group and receive a group grade. When students are grouped in discussions, they will only be able to view the discussion of the group they are in.
Click on “New Category” to create a new category of groups.
Next, you’ll see something like this when you're setting up a new category of groups. Name this category based on its function (e.g. discussion groups, assignment 2 groups, final project groups, etc.).
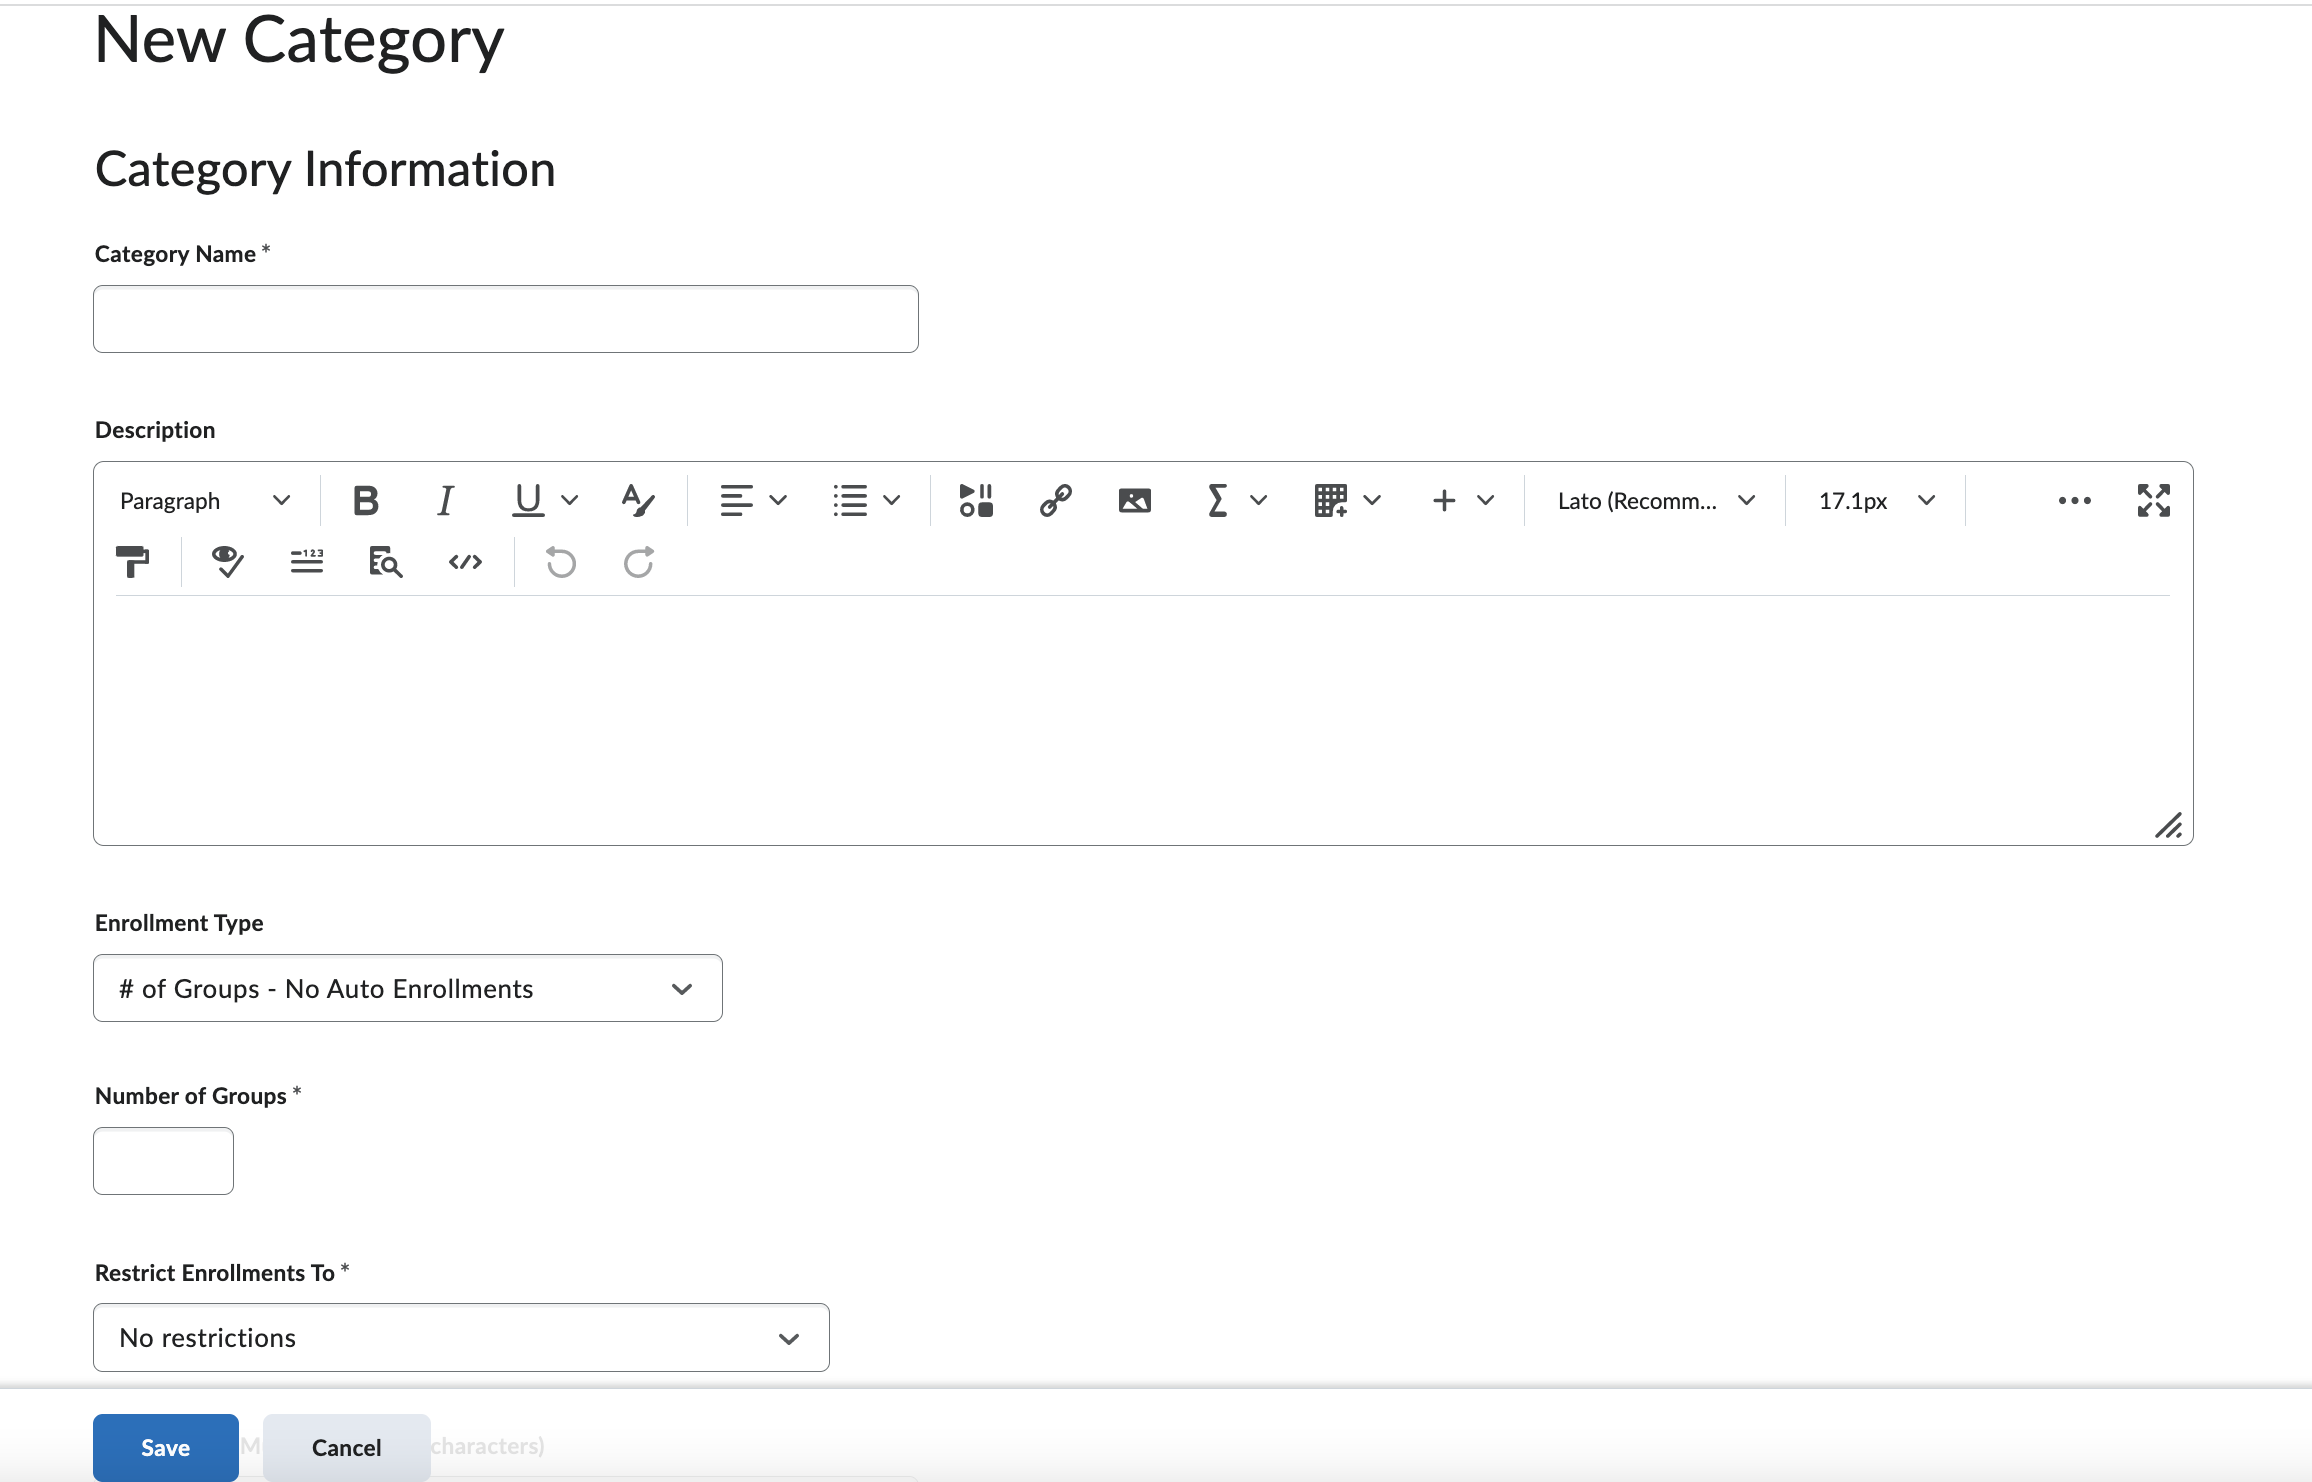
Choose how you want the students enrolled in the groups: students can be automatically enrolled or manually enrolled by the instructor or the students themselves. After you have chosen the enrollment type, more group options will be available under the heading “Advanced Properties”.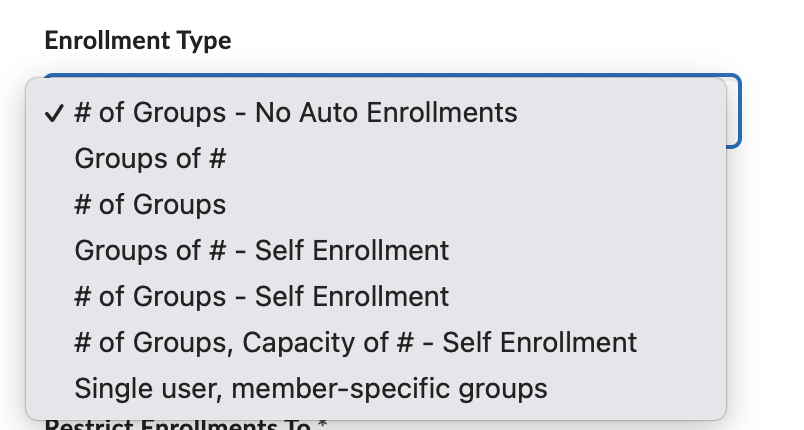
When you see the part "Restrict Enrollments To", select "No restrictions", instead of choosing one particular section. This way, all the rosters of the course (both masters and phd students) are able to be selected as members of groups, unless you specifically are creating groups for one specific roster only.

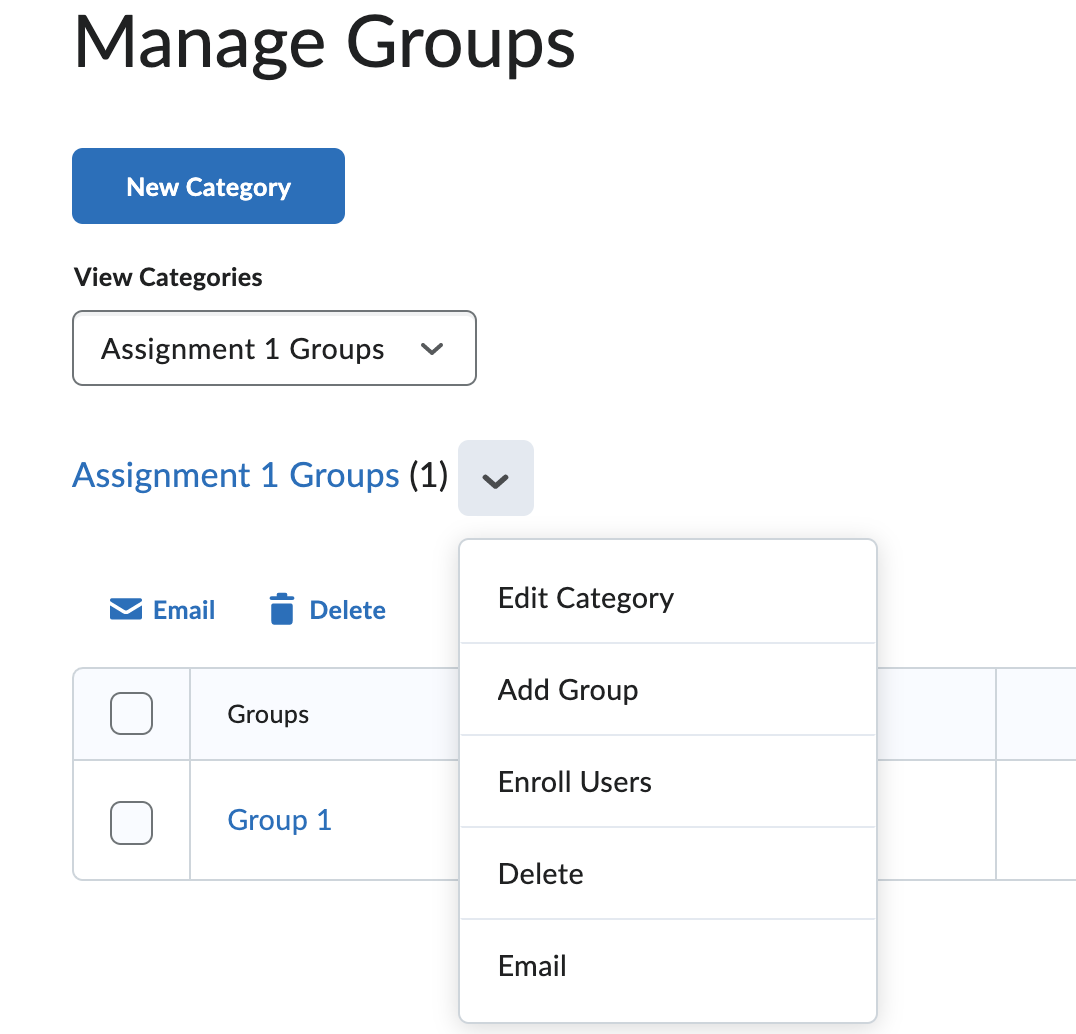
By clicking on the down-arrow button next to a category of groups that you’ve created, a menu will appear allowing you to perform more actions, such as adding more groups, enrolling new members, etc.
Group Assignments
To make an assignment a group assignment, go to the editing page of that assignment. Select “Group Assignment” in the right-navigation menu under the heading “Submission & Completion”. Then, select the appropriate group category for this assignment.
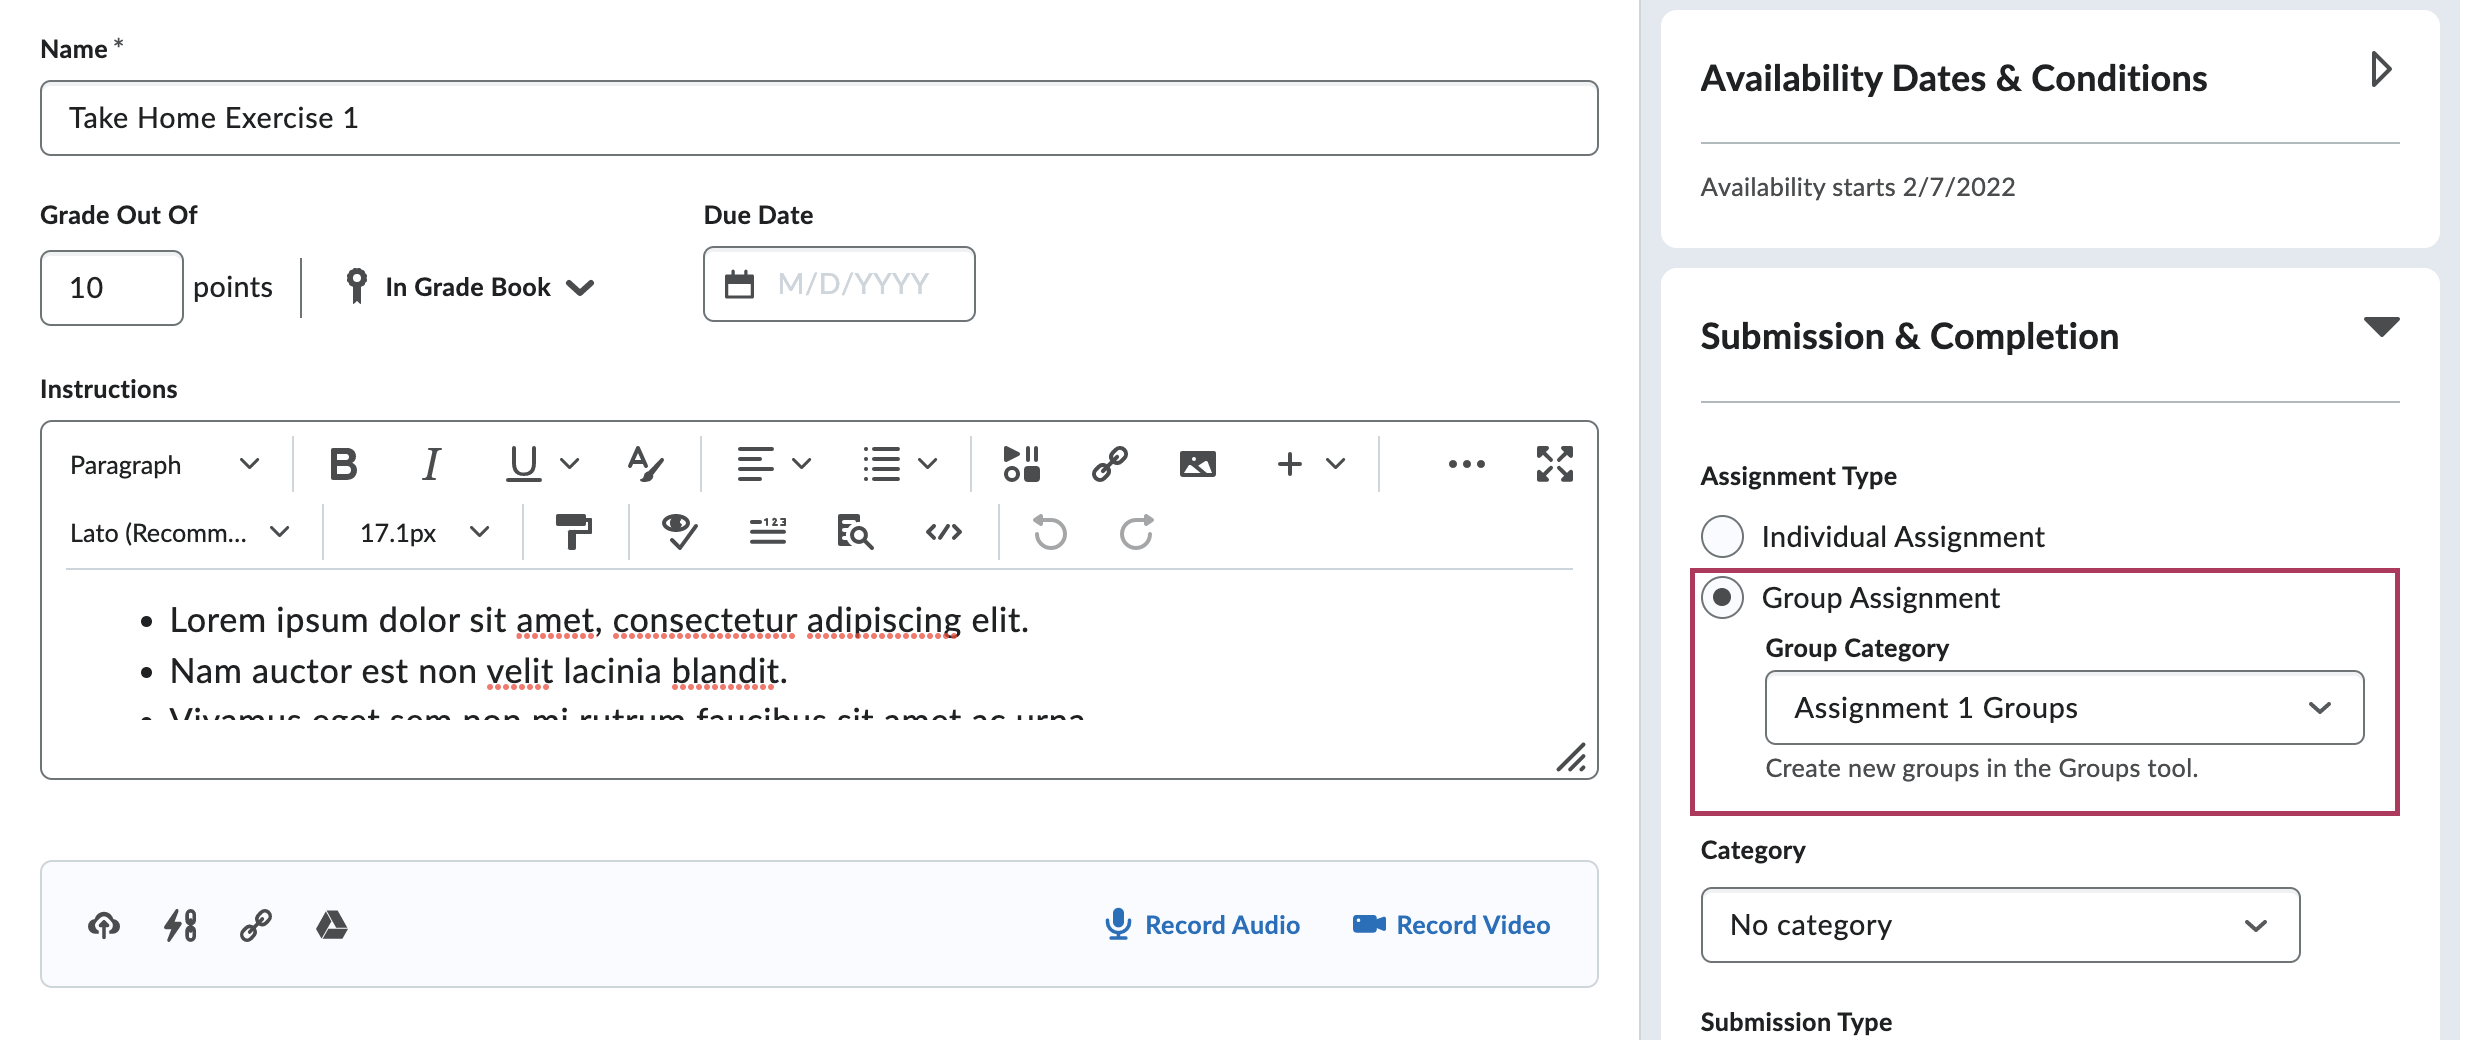
A three-person icon will appear next to the assignment in the list of assignments, signifying that this assignment is a group assignment.

Group Discussions
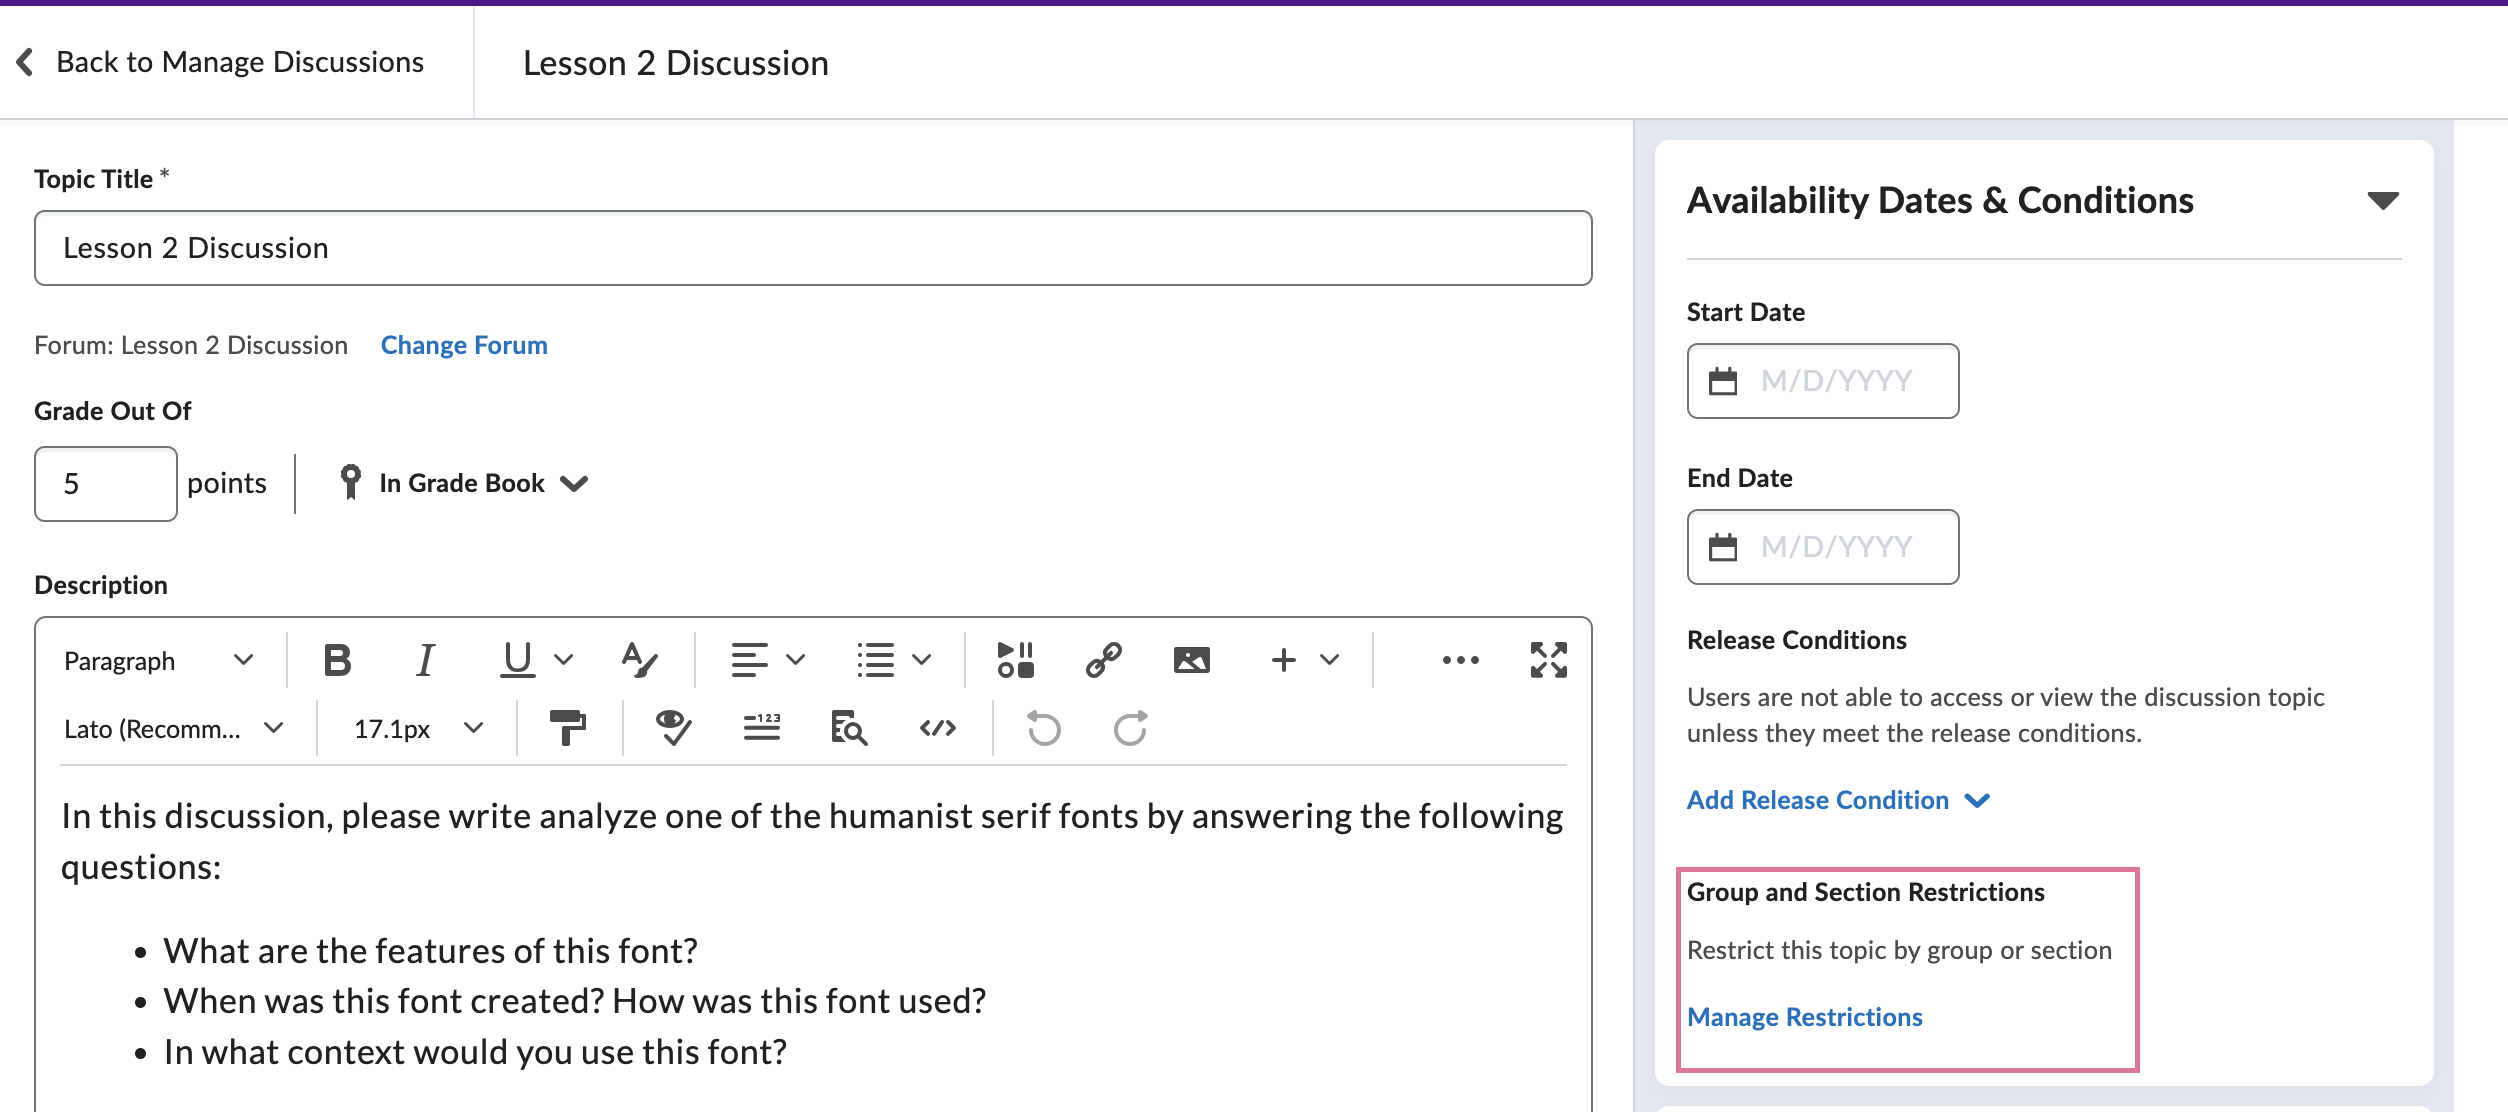
When creating a new topic, settings for topics in discussion forums can be set so that the students can only see the posts of the group they are in. Make sure that before creating grouped discussions, you have already set up groups in the “Groups” tool.
Click on the menu “Availability Dates & Conditions” on the right to expand. Next, find the section “Group and Section Restrictions” and click on the button “Manage Restrictions”.
Select the second option “Restrict topic and separate the threads” in order to restrict users from seeing posts from other groups. They will only see the posts made in their own group/section. Next, select the appropriate group category from the menu that appears below.
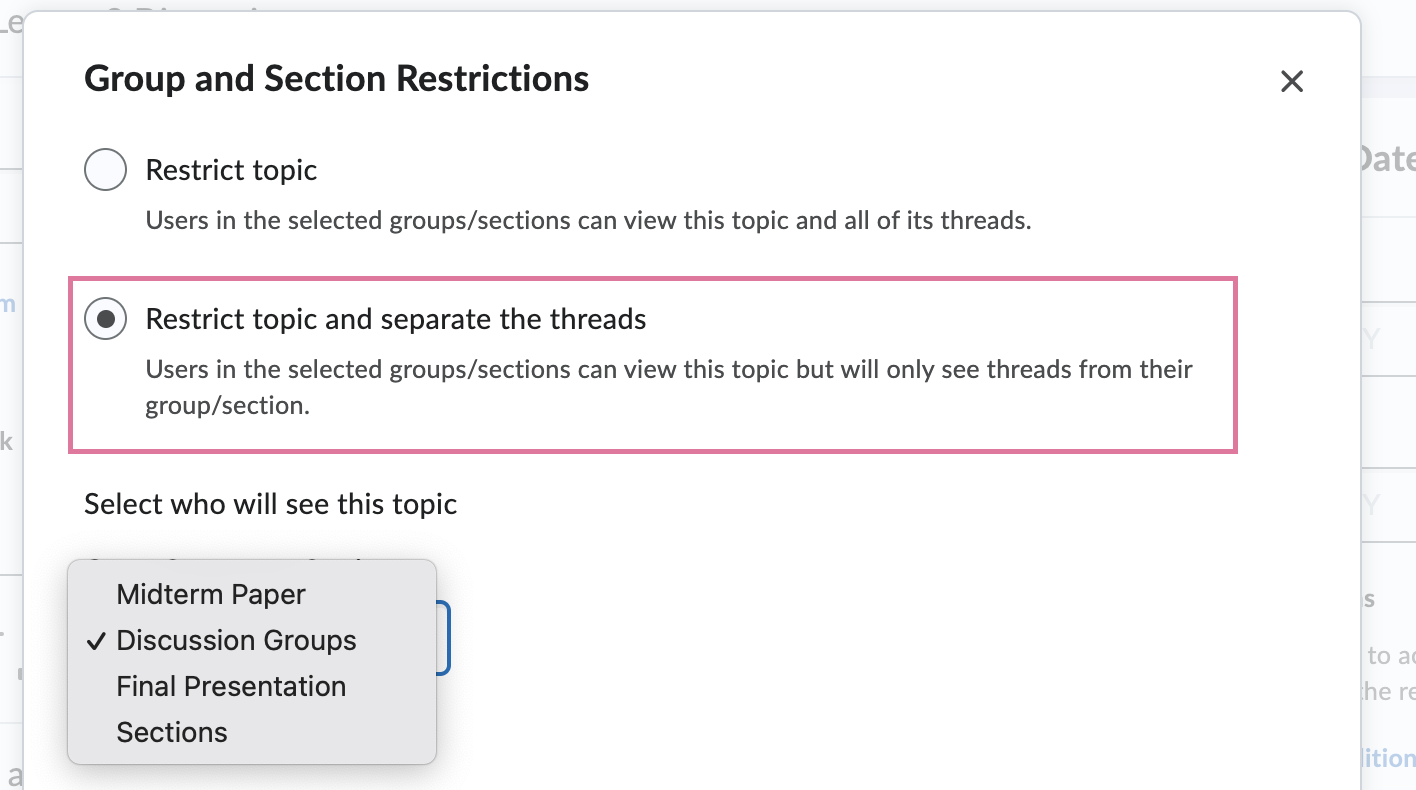
Note: You cannot change these restriction settings after posts have been received.
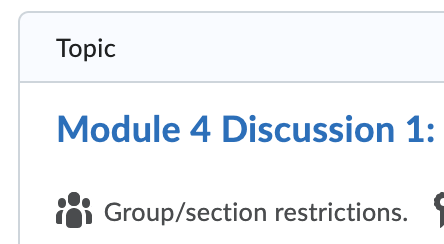
After designating a topic as a group topic, an icon will appear under the title of the topic signifying that this particular topic now has group restrictions.
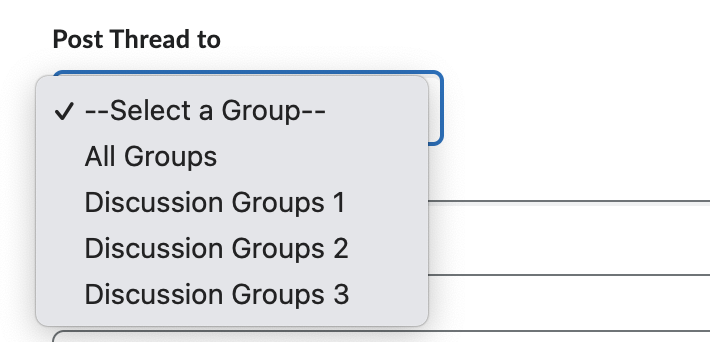
When you’re in a group topic, click on the “Start a New Thread” button to create a new discussion thread. Since this is a group topic, you’ll be able to select the group you want to post a thread to. If you select “All Groups”, then all groups will receive a copy of this thread. In this example below, if you select “All Groups”, then the thread will automatically be posted to Discussion Groups 1, Discussion Groups 2, and Discussion Groups 3.
This is an example of how the threads will look after you have posted the thread to all groups. Note: the threads will be shown in Z-A order of the group name.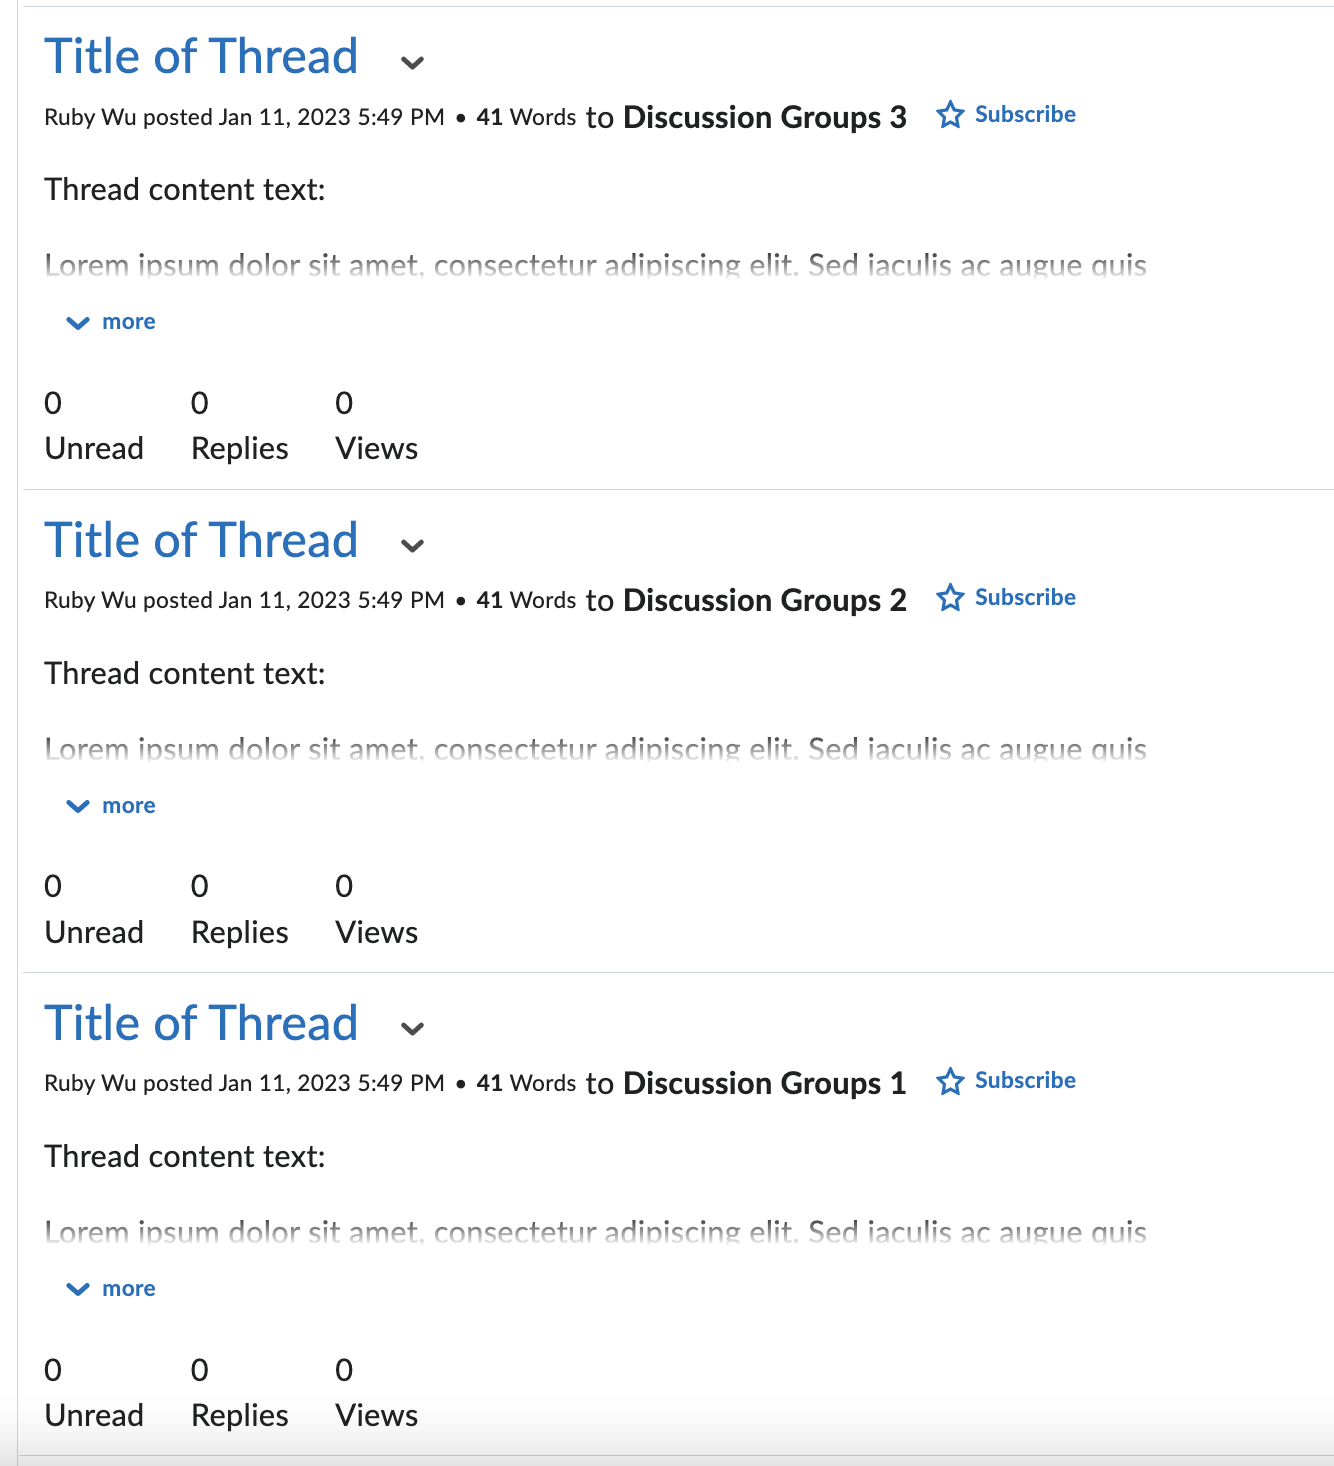
last updated: 01/26/2024