Installation
- Go to stream.nyu.edu, in your browser (we recommend using Google Chrome as it works best with NYU tools) and sign in with your NYU email credentials if you aren’t already logged into your account. You should see your name in the top right of the page.
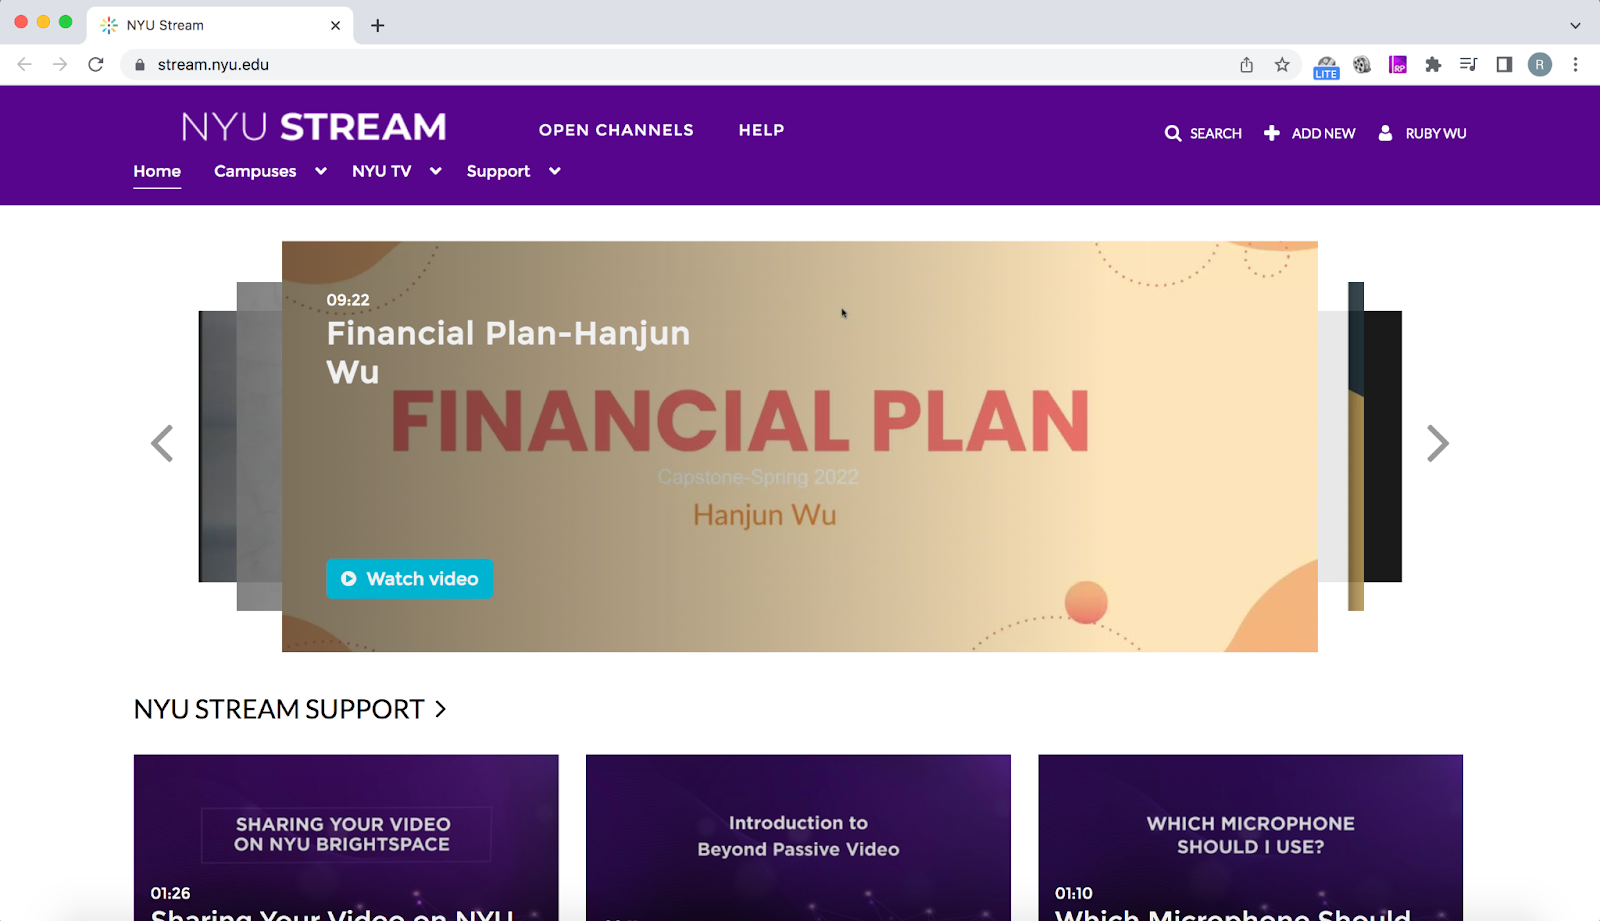
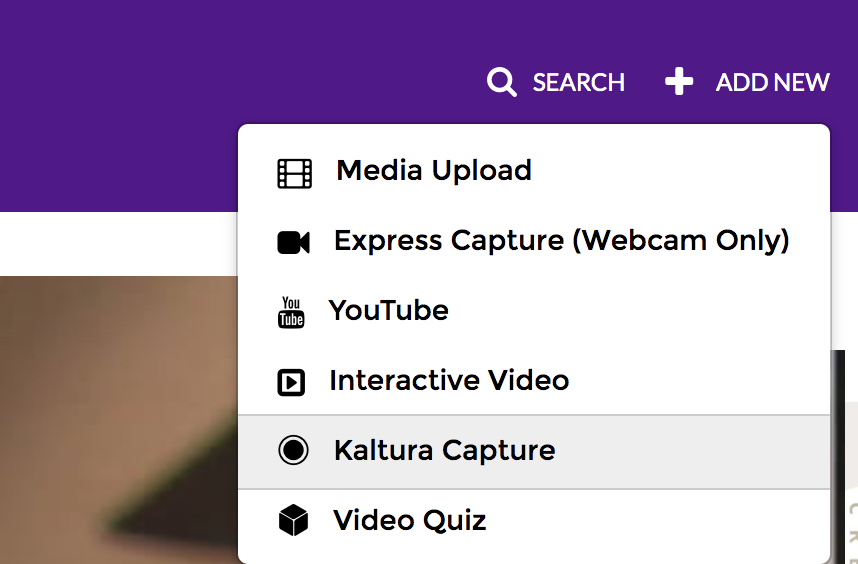
- At the top-right corner of the webpage, click “+ ADD NEW”. In the menu that appears below, click on “Kaltura Capture”. This will lead you to this link: https://stream.nyu.edu/kalturacapture/launch/create.
- If you don’t have Kaltura Capture installed, download the software:
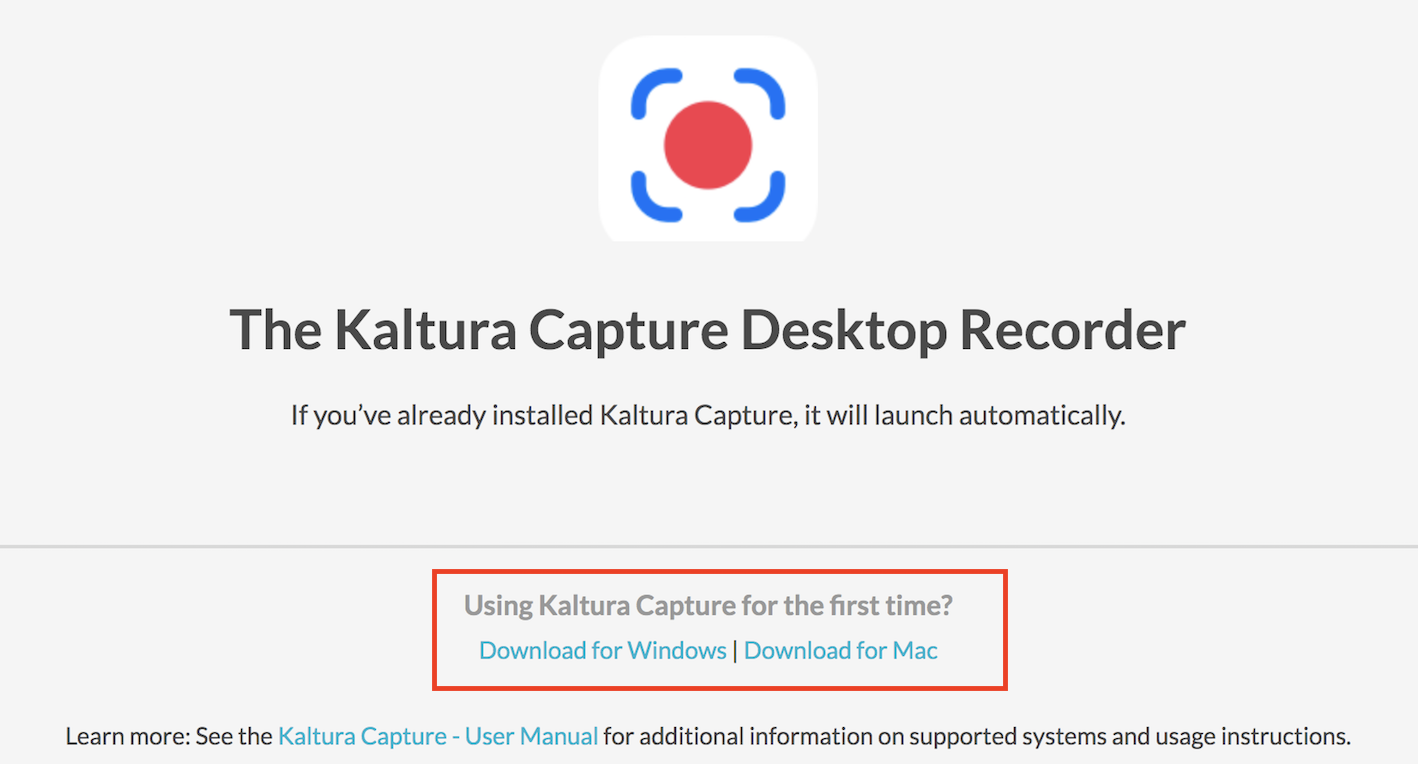
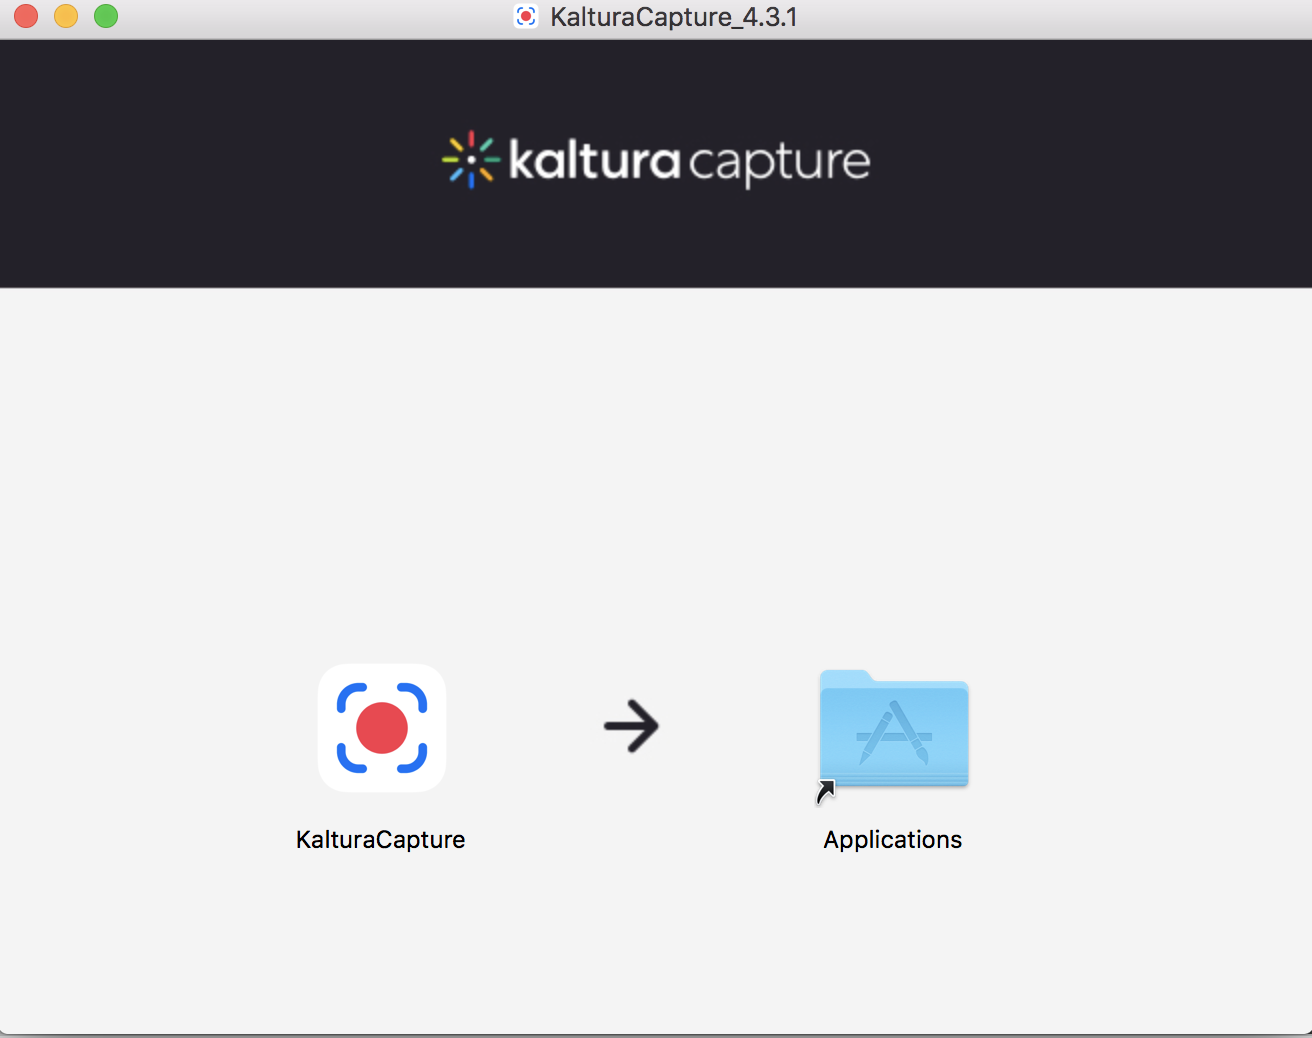
For Mac:
Drag the Kaltura icon to the applications folder.
- After successfully installing KalturaCapture or you already have KalturaCapture installed, a pop-up window will appear, asking you to open KalturaCapture. This webpage is the same as the link you opened in step #2: https://stream.nyu.edu/kalturacapture/launch/create

Zoom
- If you are recording a meeting using Zoom, for example a presentation for a group project, you should have your zoom meeting open and ready to be recorded prior to opening Kaltura Capture and following the next steps below.
- You can use Zoom as you normally would, just with the extra step of using Kaltura Capture to record the meeting.
Screen Recording
- This menu bar will appear on your screen after you have opened Kaltura Capture:

- The three blue icons (screen, camera, audio) indicate that these features are turned on. If you want to turn off one of the features, simply click on the icon, and they will turn gray along with a slash across the icon.
- Put your mouse pointer above the icons to see more about each icon.
- Clicking the down arrow for “screen” and “camera” will allow you to preview and choose a source.
- Clicking the down arrow for “audio” will allow you to choose a source for the microphone.
- If you’re recording a Zoom meeting with Kaltura Capture, make sure the audio source is set to “Zoom AudioDevice”.
- To record, simply press the red recording button. There will be a 3-second countdown for you to prepare for your recording.
- Note: If you have set up a camera, it will be capturing you as you record. However, there will not be a live thumbnail that you will see.
- This recording bar will appear on your screen as you record:
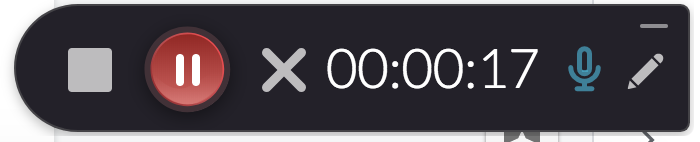
- To pause, press the pause button. When you want to resume, click the button again.
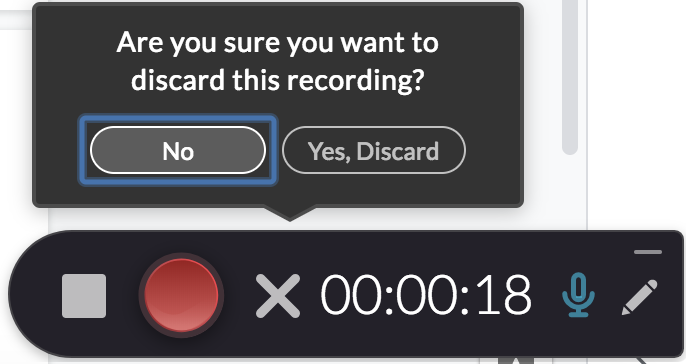
- If you want to discard the recording, press the X button to the right of the pause button. DO NOT press this to end a recording as this will only delete the recording. To end a recording, use the stop button (see next step below).
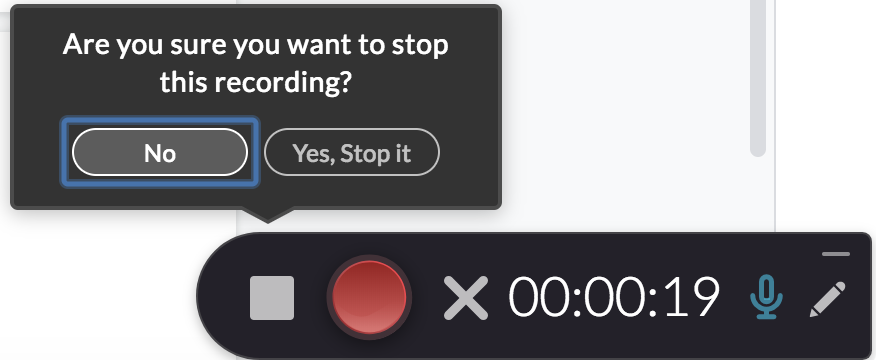
- When you finish recording, press the stop button. You will be asked to confirm to stop the recording. Select “Yes, Stop it” to finish up your recording.
Upload Recording
- This will open up your video library. You can edit the title, description, and add tags to your video. The bottom of the box shows the options you have for this recording: delete the video, save & upload, or save.

- Save & upload: this will save the video and immediately upload it to your private NYU Stream media library.
- Save: this will save the video locally. You will be directed to your library, where you can view all the recordings you have saved. This option is helpful if you were to record, but didn’t have a stable or active internet connection to immediately upload the video to NYU Stream. You can upload your video to your NYU Stream media library at a later time.
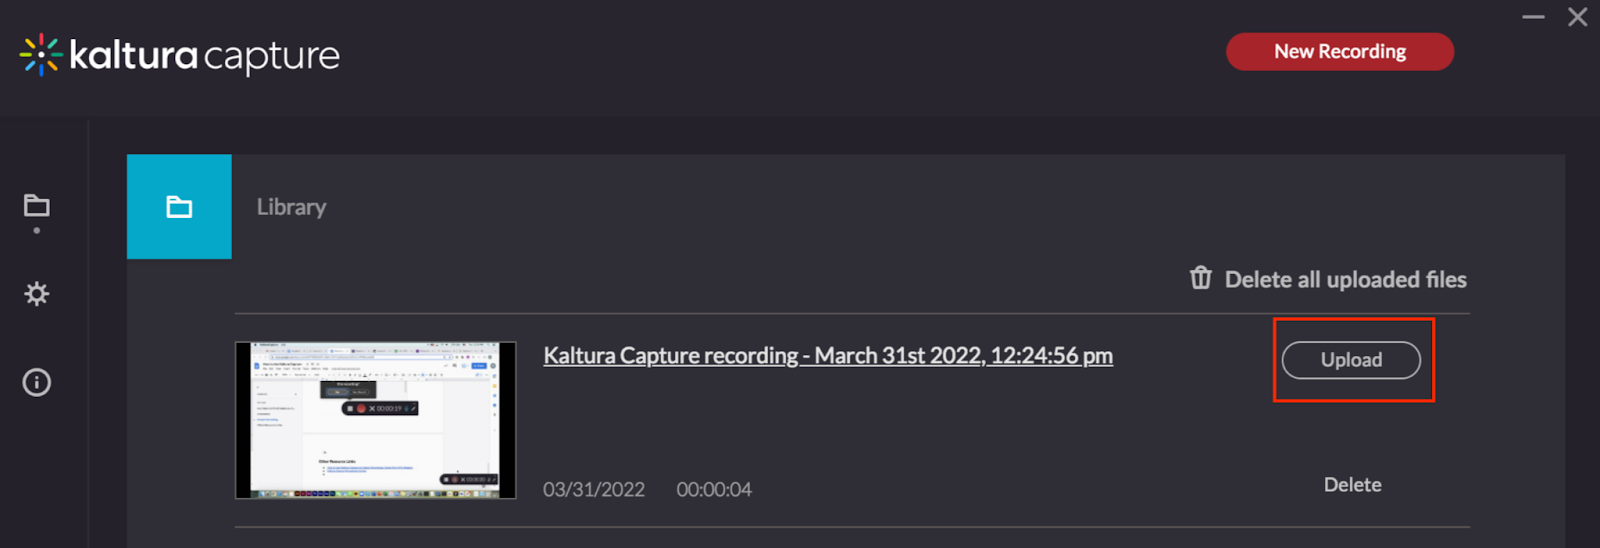
- If you haven’t uploaded a certain recording, you’ll be able to see the “upload” button to the right of the video.
- If you have already uploaded a recording, you’ll be able to “reupload” the video. You’ll also be able to see the link where the video was uploaded.

Recommendation
- To ensure that the recording of your actual presentation will work as planned, it is highly recommended that you first do a test run of a Kaltura Capture recording. You may want to test out how to upload the recording as well, in order to take a look at what was recorded and make sure everything is ready for your actual recording.
Publishing on NYU Stream
- After going to the link where your video was uploaded, you’ll be able to watch your video. (You can also go find your video on the my media page in NYU Stream.) If you recorded both your screen and had your camera on, you can switch the view with the toggles that are shown in the top-right corner of the video.
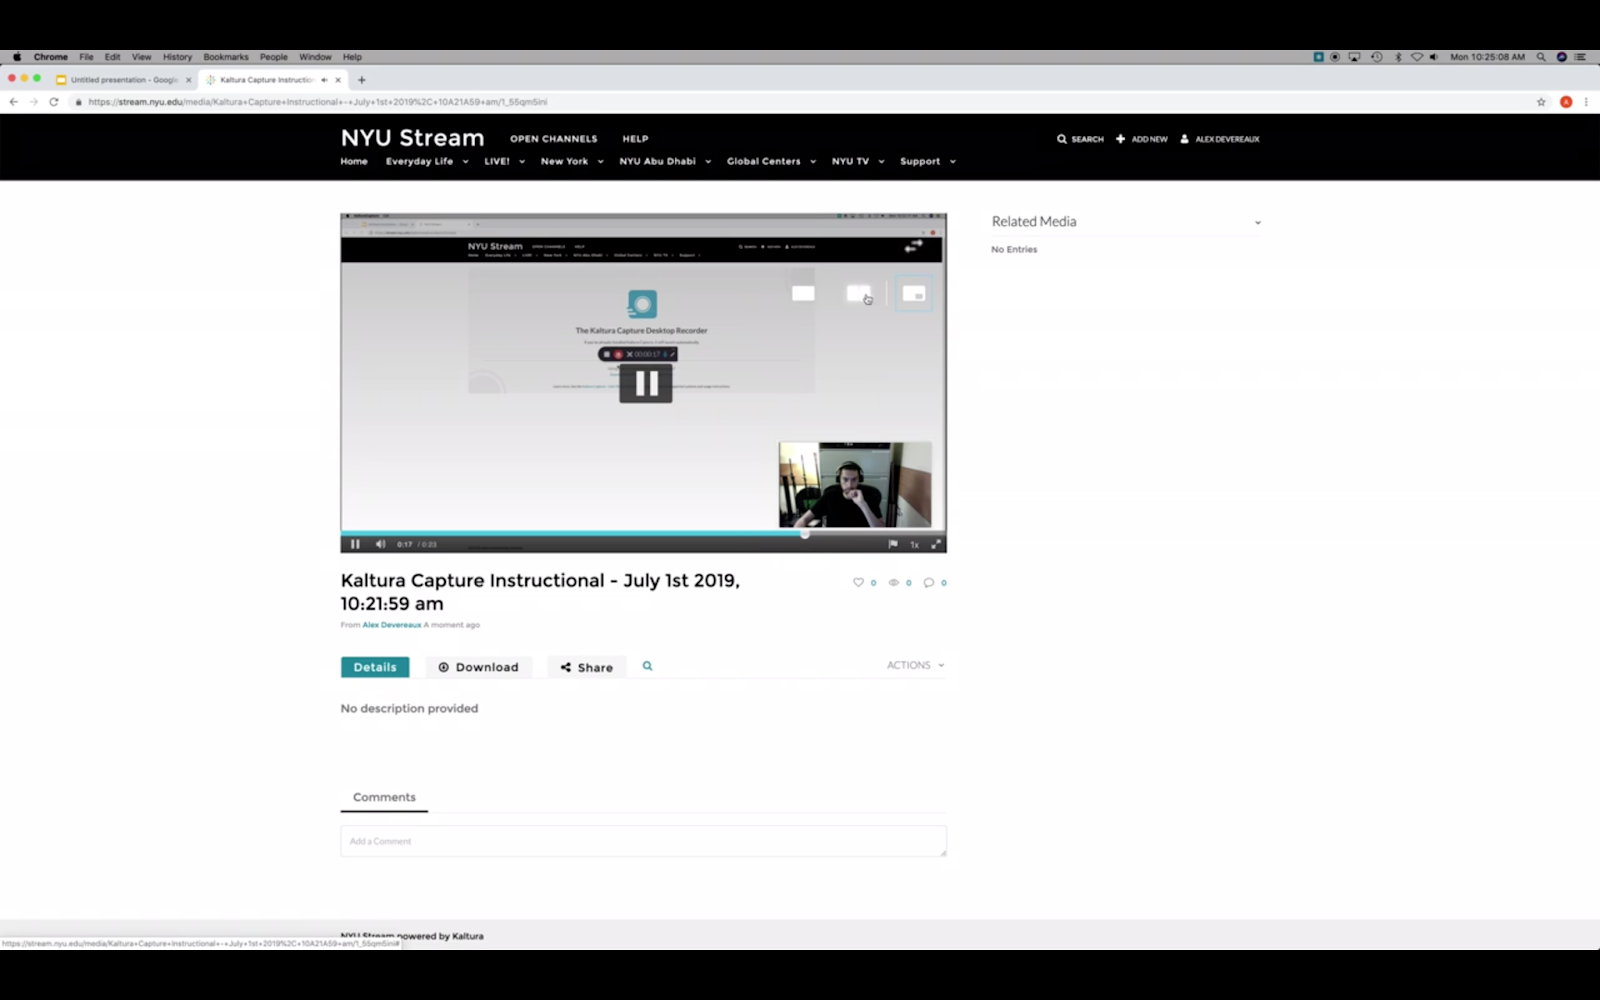
- At the bottom of the video media player, there are more actions that you can do with your video, including added captions or even editing your video.
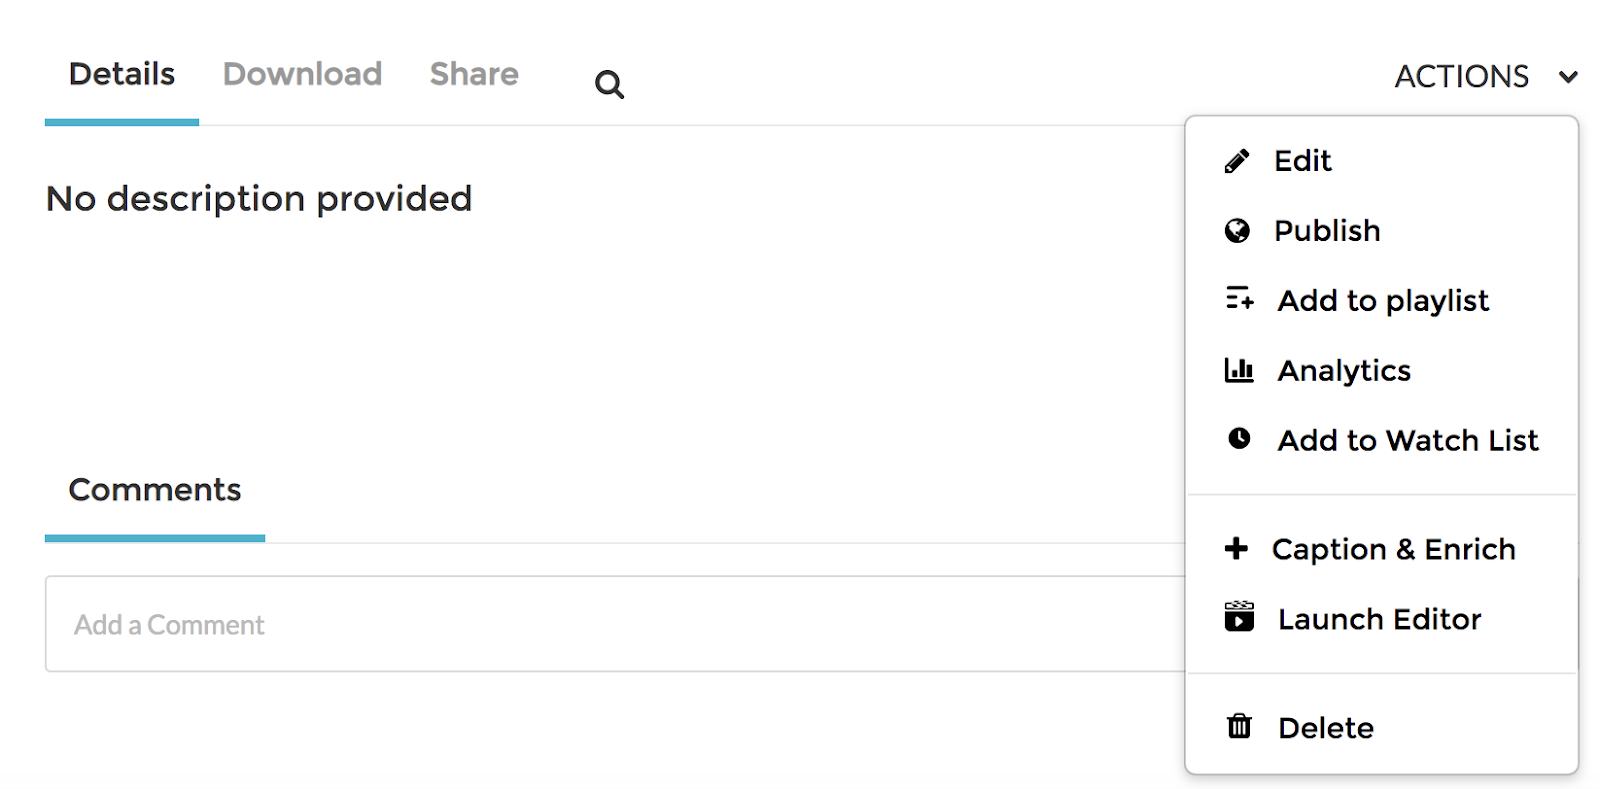
- If you want others to be able to view your video, you must publish your video. To know the status of your video, you can do one of the following:
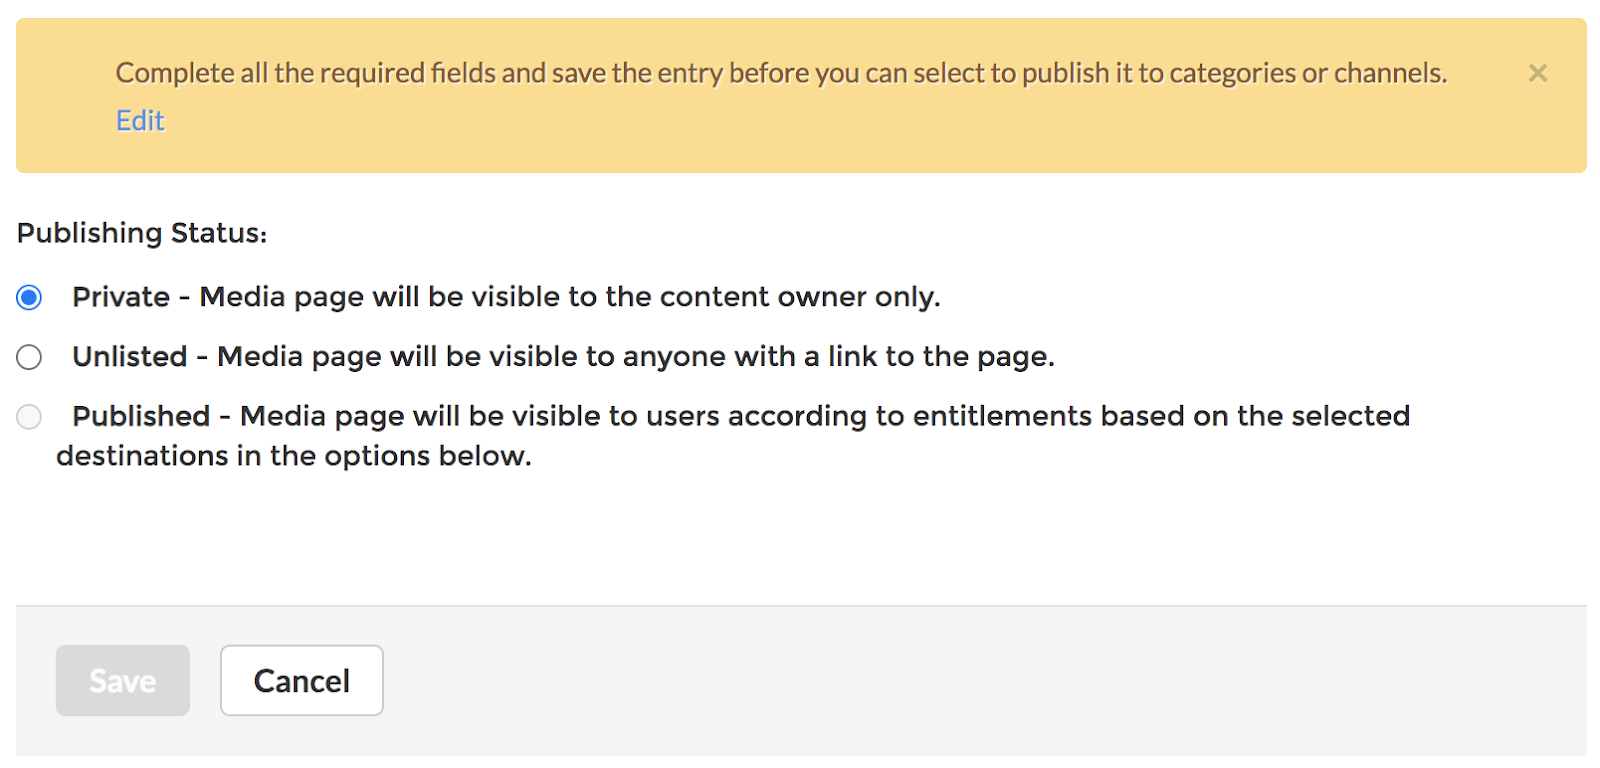
- Click on the “Publish” button from the “Actions” menu (pictured above). Then, you’ll see the status of your video: private, unlisted, or published. Click on your desired status and press “save”.
- NOTE: You may not be able to click on “published” here if you haven’t completed the required fields for your video. Please see step 15 for more information.
- Go to your media page on NYU Stream, and look for the video you want to check. If your video has not been published, it will be labeled as private. This label is a quick indicator of the status of your video. So if someone is unable to see your video, make sure the label is noted as “unlisted” or “published”.

- After you change your video status to “unlisted”, your video will be made available to anyone who has a link to that page. (Note: To see the video, viewers may need to login to their NYU account.)
- If you want to have your video in “Published” status:
- After clicking the “Edit” link in the yellow box, you’ll be brought to a page that looks like this:
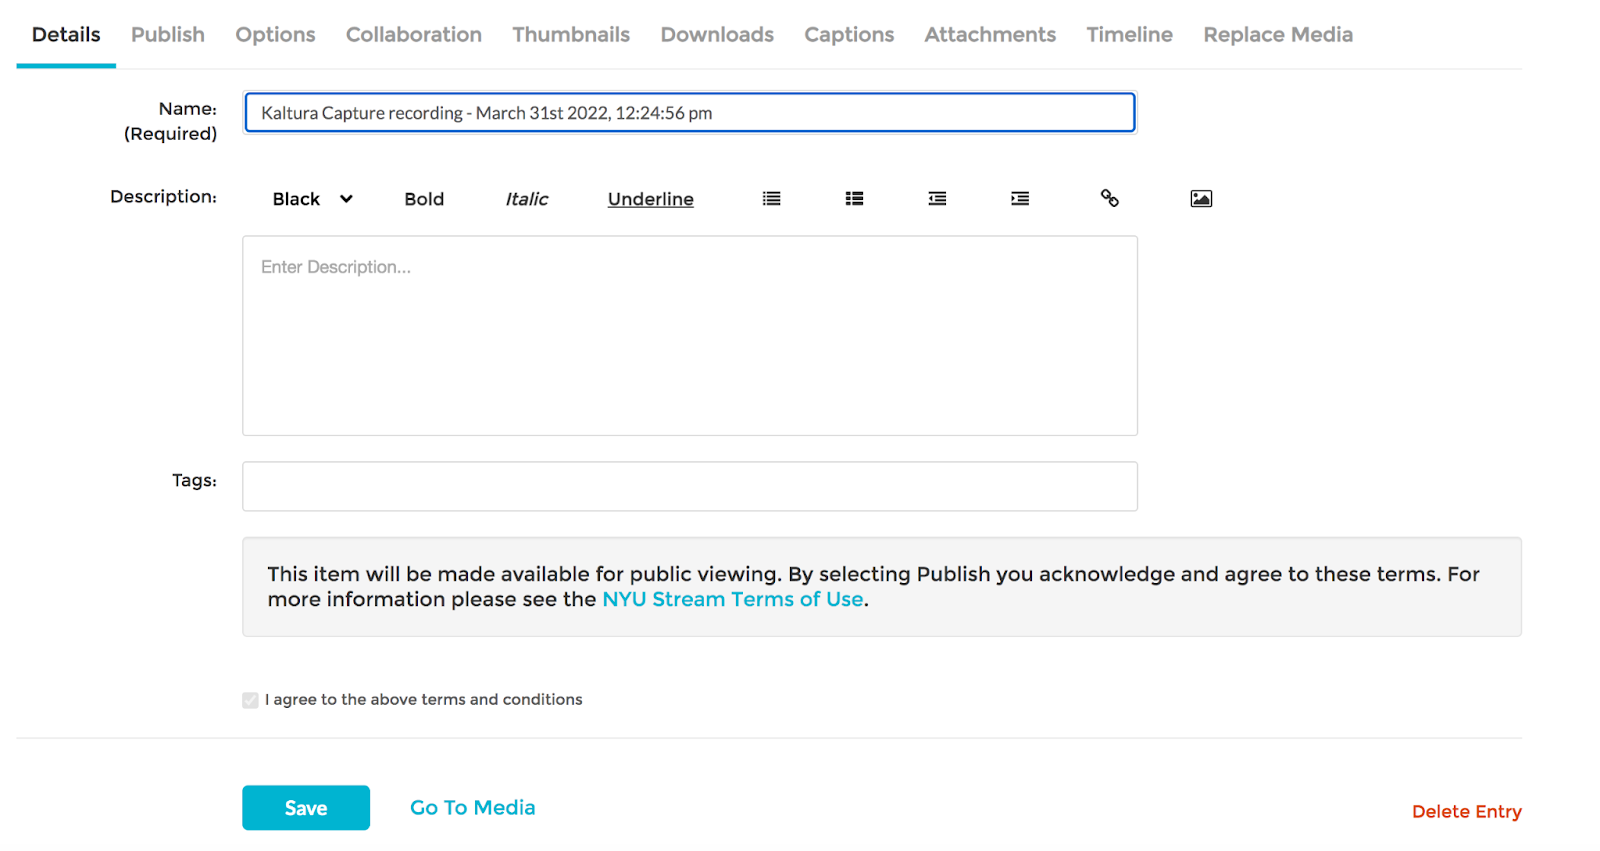
- Under the details tab, you’ll need to agree to the terms and conditions.
- Then, under the publish tab, you can choose which categories and/or channels you want your video to be published in.
- Save your video changes. Your video will then be marked as pending, and it will be published after your video has been approved.
Other Resource Links